Stella Parks’ “Chicken Pot Pie With Buttermilk Biscuit Topping Recipe” from Serious Eats
What went well:
In the end the flavor was great.
I had the foresight to put a sheet pan underneath the dish and prevent my oven from ultimate destruction.
What went poorly:
Chicken stock got everywhere. All over me, all over the stove, all over the floor, everywhere.
We baked the thing for days on end.
After making apple pie, I thought it could be cool to make a savory pie using the same pie crust recipe. This plan was quickly abandoned when I stumbled upon a recipe from Stella Parks (of Bravetart fame) for a biscuit topped chicken pot pie.
It sounded a lot like a pot pie that we get from a local farm that is SO good (like you can easily eat the family size serving yourself it’s so delicious). So yeah, we kind of gave up on the savory pie thing, but at least this thing should be good right?
Day 1: Grand ambitions
Right out of the gate I realized this wasn’t going to be your average culinary adventure. The list of ingredients spans 3 pages when printed out. Just obtaining everything that we needed was its own quest since our local Whole Foods doesn’t stock unflavored gelatin.
Peach, they got it. Raspberry, they got it. Lime (LIME, r u srs?) they got it. Unflavored, ya know - the kind that’s used in all normal foods - “it’s discontinued”. Weirdly, the smaller Whole Foods that’s near our apartment had gelatin in stock, which is perplexing, but alas.
We had originally intended to make this and have it for dinner that night, but after a bunch of random errands we didn’t get home until around 5 pm and this thing claims it will take 5 hours from start to finish.
We settled on a new plan. Make the pot pie filling tonight then assemble it tomorrow, and for dinner make pasta aglio e olio following the recipe from Binging with Babish (side note: this was our third time making it and the first time it was as good as everyone says it should be). Why pasta aglio e olio? The pot pie recipe calls for “1 sprig” of parsley and we could only buy about a 1,000 sprigs at a time.
To start off this recipe, you poach the chicken in some chicken stock along with some vegetables and herbs. This dials the chicken flavor up to 11 and kind of pre-cooks the chicken so you don’t need to do everything in the oven.
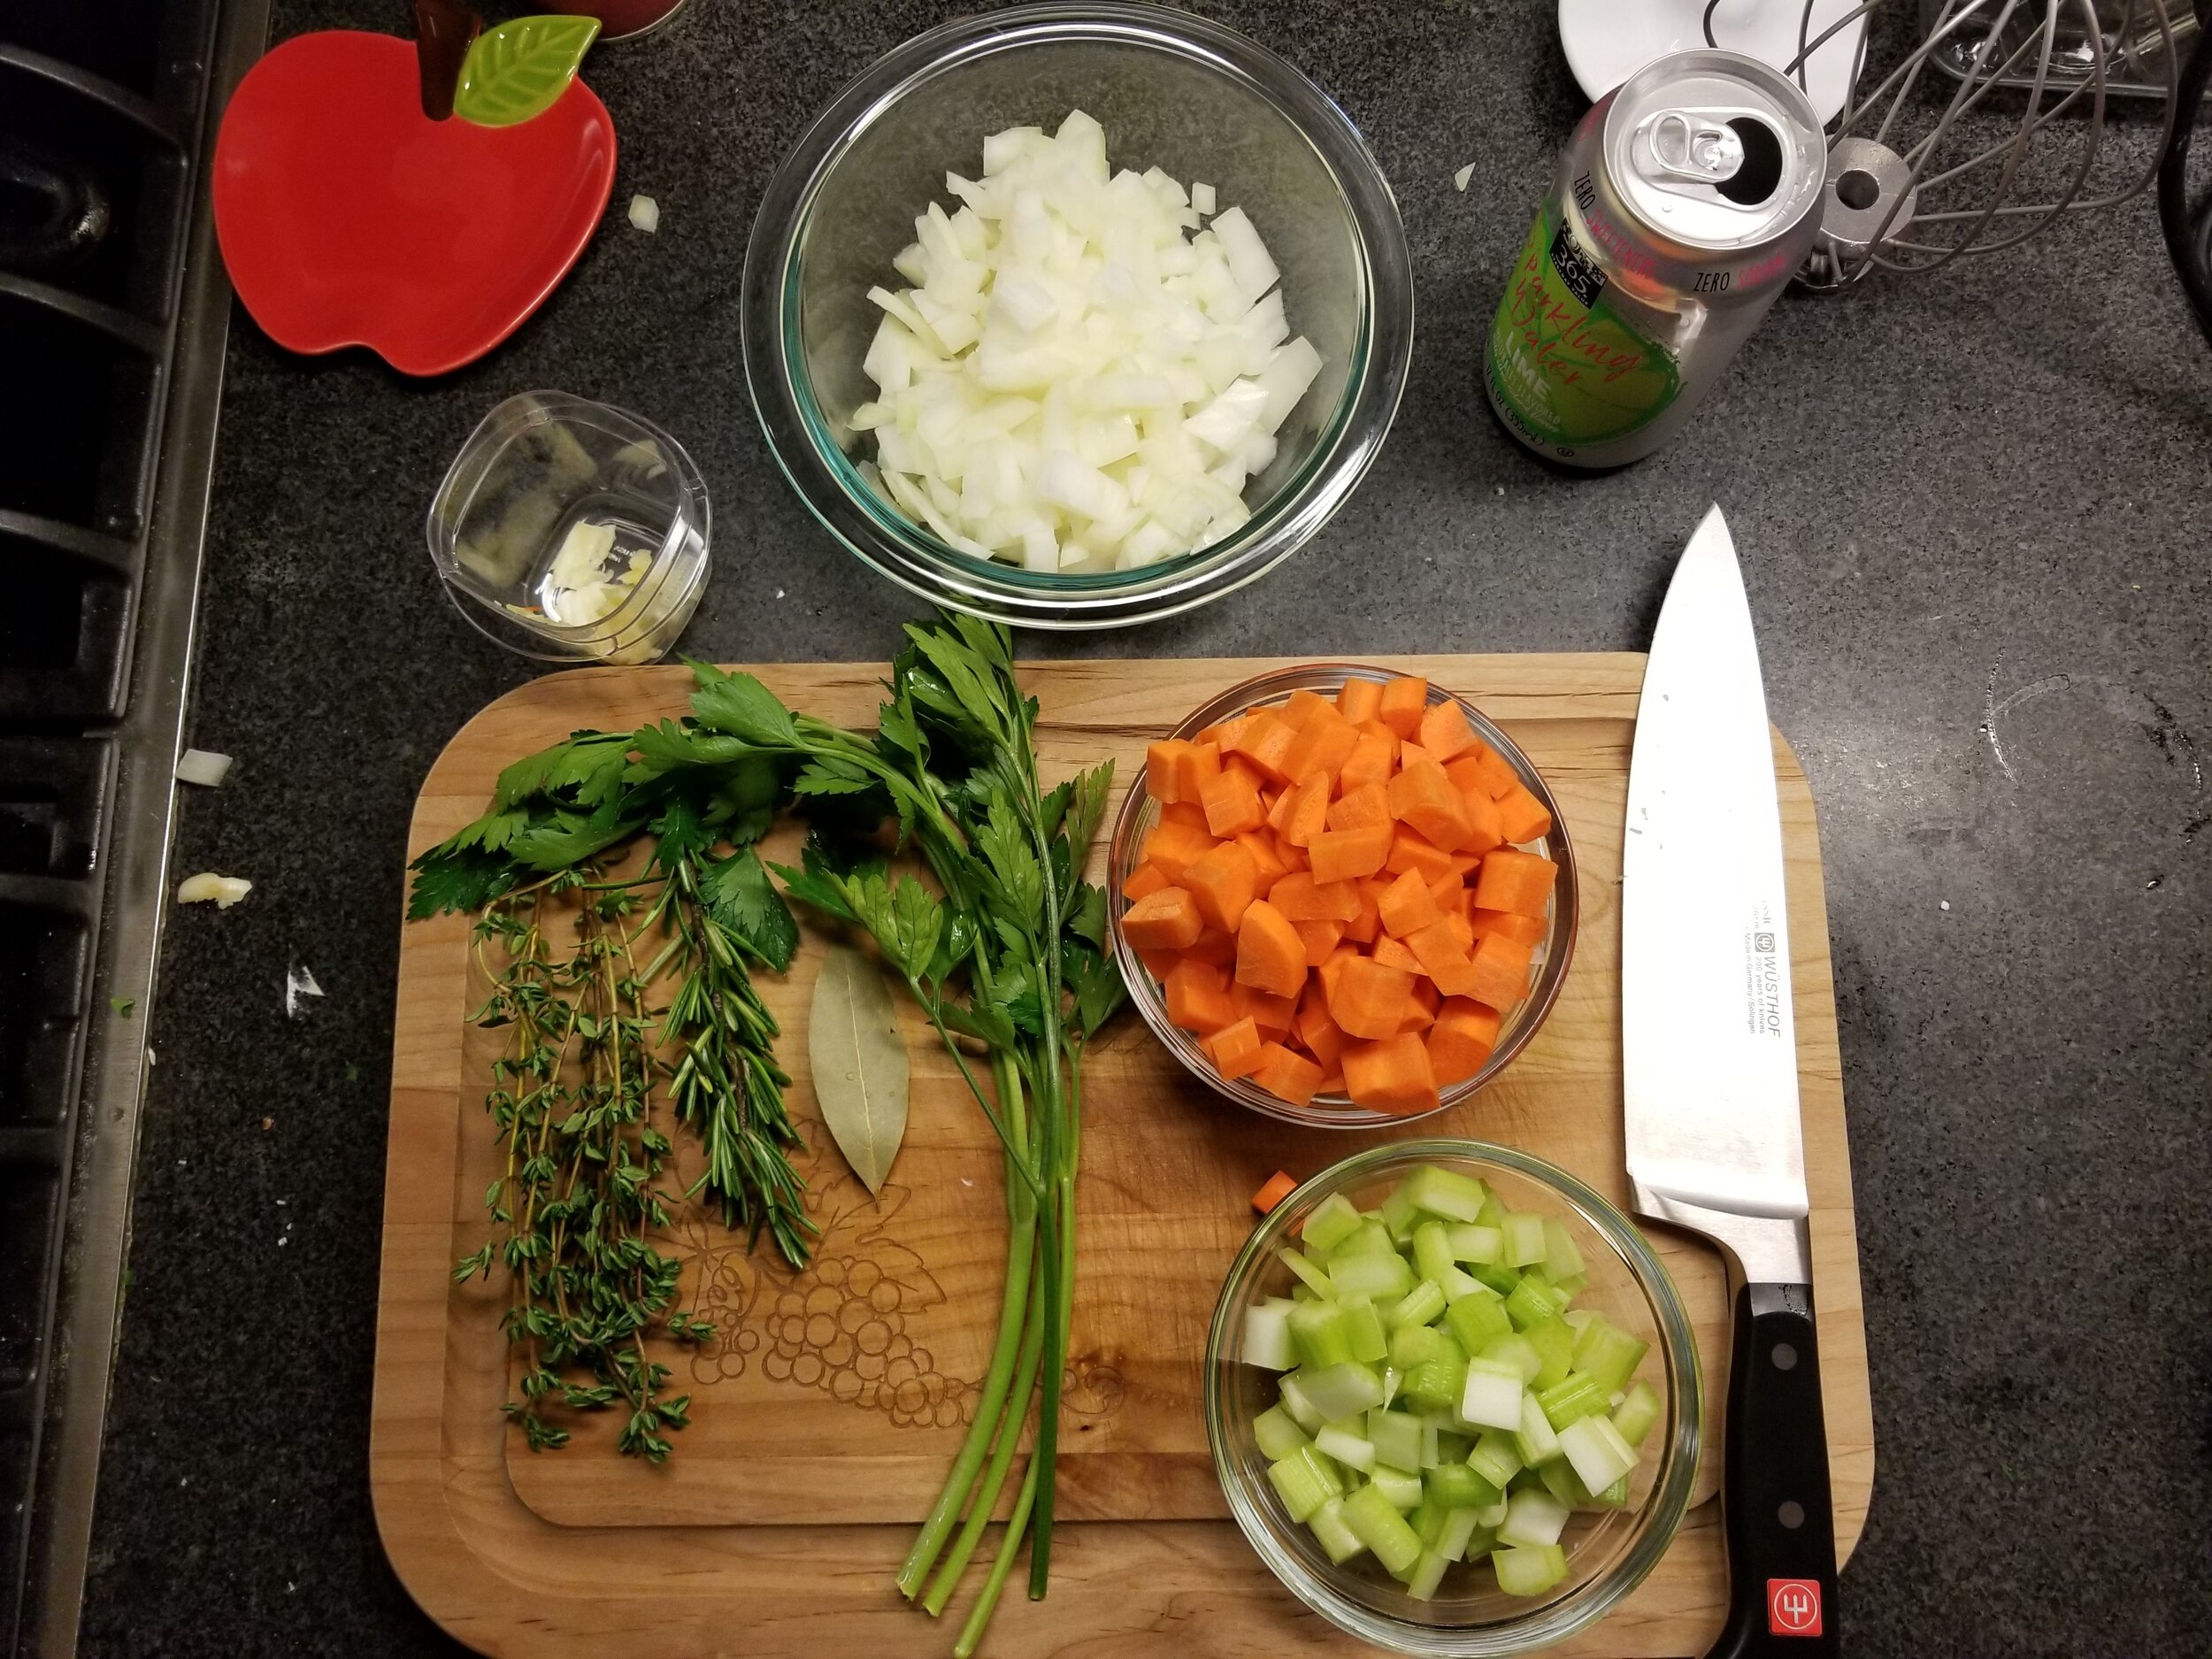
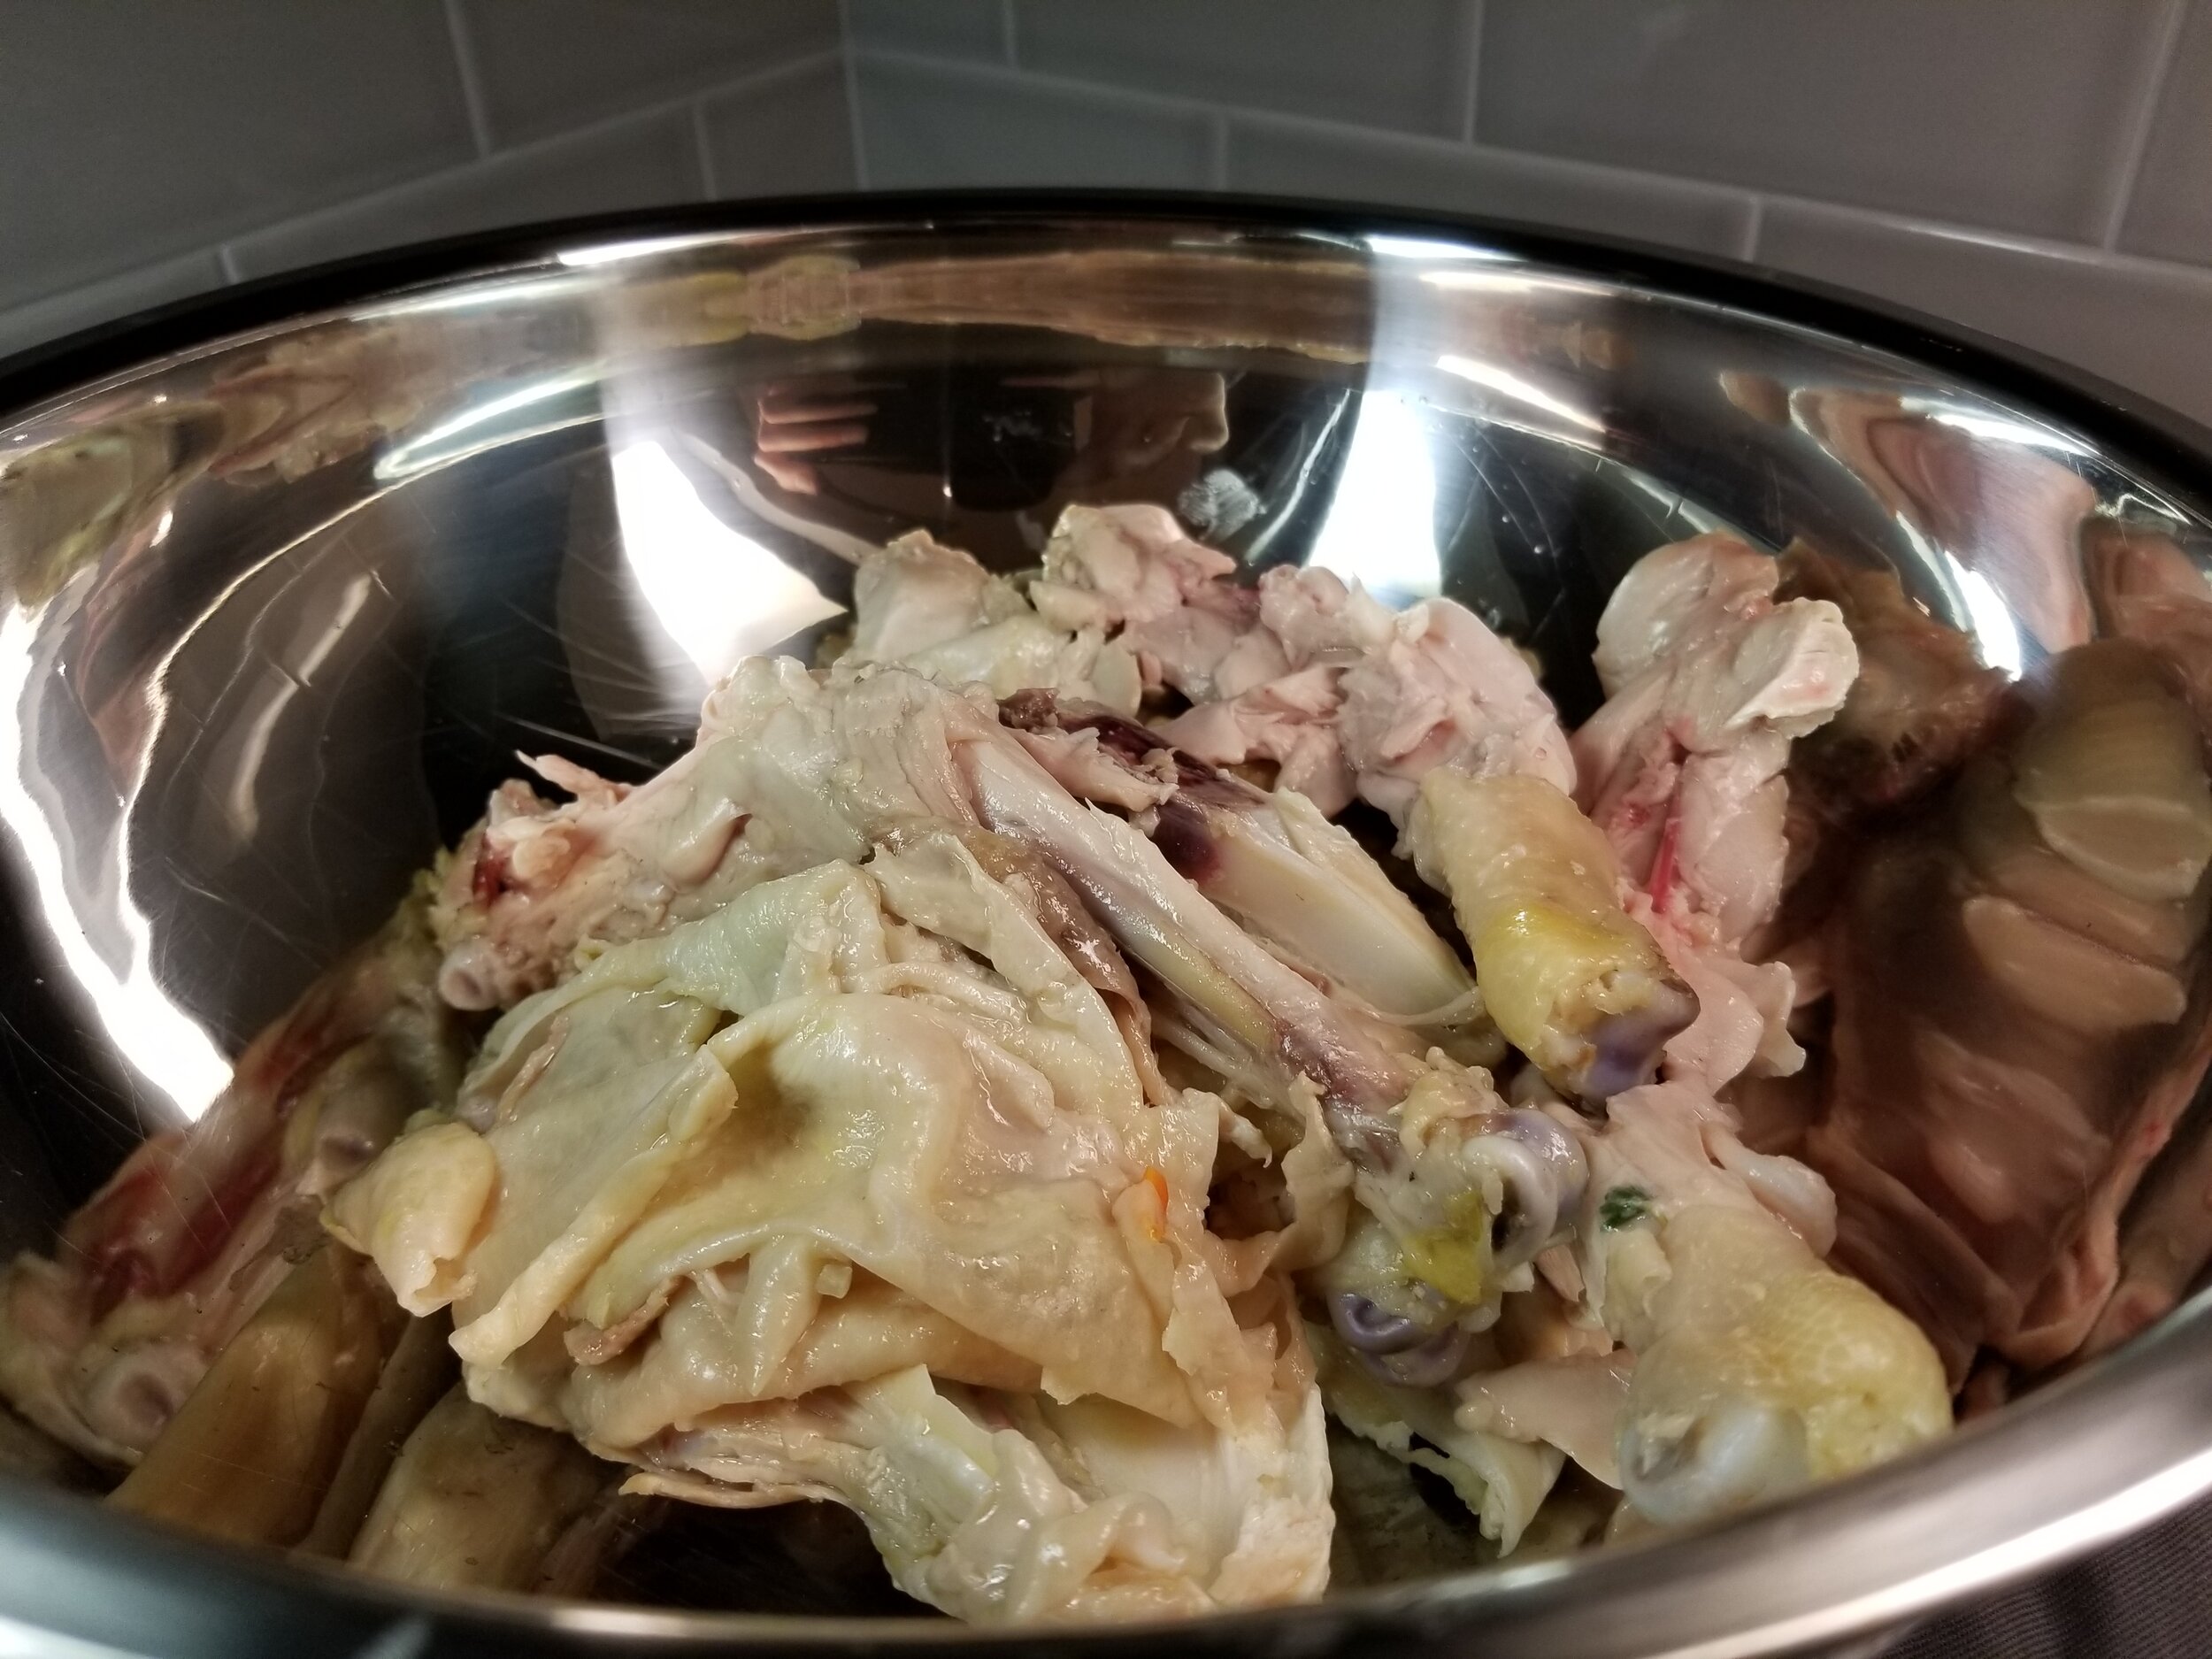
The veg prep for this was pretty easy, no real curveballs there. For the chicken, this recipe just calls for 4.5 pounds of assorted chicken parts. We went with 4 breasts and 4 legs. Perhaps if I wasn’t just some guy in an apartment I would have bought 2 whole chickens, but I am, so I didn’t.
All of the vegetables and herbs prepped. Yep, I used a dried bay leaf because I do have some limits.
All of the chicken prepped and ready to go
By the time the first round of stuff was ready to go in the pot, the kitchen was minimally messy. This was the last time that would be true.
After you put everything in the pot you’re supposed to bring it up to 150 degrees and then hold it at +/- 10 degrees from there. I can assure you that I screwed up the +/- 10 degrees part. At one point I measured and the stock was at 165 so right from the start mistakes were made.
Everything in the pot.
While the chicken was poaching, I started prepping the rest of the vegetables that actually go into the pot pie. Again this part was pretty straightforward. It’s just a carrot, an onion, and celery. Definitely weigh your celery though. It calls for 1 large rib of celery (4 oz) and I guess my celery was weak, because my seemingly large rib was only 2 oz.
Where things started to get not-so-straightforward was when the chicken was done poaching. You’re supposed to pull out the chicken and then strain everything out of the stock.
I probably dirtied 5 dishes doing this because I first picked a pot that was too small for my strainer. Then I realized I needed some of the stock to cool off for a later step in the recipe, so I poured some out into a bowl and got it all over the stove. Then I realized I needed a quart for another step later in the recipe so I poured it into another bowl. But at that point I couldn’t get a full scoop in my measuring cup so I was ladeling the stock into my measuring cup to pour it into another bowl.
This part definitely could have gone better.
At this moment I started to realize things had maybe gone a bit off the rails. But I pressed onwards. All of the chicken was successfully retrieved and set aside to hang out under some lightly draped foil.
When the chicken is done, you start to actually make the filling. This starts by combining a huge chunk of butter with some flour in a large pot to make a roux. Since I only own one large pot this required some mid-recipe cleanup.
I don’t have a picture of the roux because it was my first time ever making a roux and I was too worried I was going to blow it somehow. Also as you can see in the picture below, things were all over the place and I was just trying to keep my head above the water.
Once your roux looks pretty good, you throw in your veg to let that soften up a bit. Again, no photos of this because I was desperately trying to stir the vegetables and shred the chicken in time for it to be ready.
At this point I had to call in backup to stir the pot while I focused on ripping the chicken off the bones. Chicken meat removal actually went fairly well, though I don’t think I fully comprehend which parts of the chicken leg should be taken off. I was fairly conservative on the legs and probably could have gotten more meat off of them.
Chicken freshly pulled off the bone.
Remnants of the great chicken battle of 2019.
To shred the chicken, I beat the hell out of it with my stand mixer using the paddle attachment. This worked surprisingly well, so thanks to that one guy on Reddit who mentioned that he made a lot of shredded chicken this way.
While all of this chicken related shenanigans was happening, it’s important that you don’t forget that the vegetables are still going on the stove (which I did). Once the vegetables soften up you add in the reserved chicken stock and mix everything together until it’s lookin’ kinda saucy. Then you bring that mixture up to a boil, which took a long time because I totally missed that instruction and didn’t turn the heat up for a while.
Once the mixture is boiling you throw in everything else and you’re on your way to flavor town. I mean, with a chicken flavored Jello puck, how could this not be great?
When everything is added, you just mix it for a while.
Then finally it should look something like this (I think).
At this point I thought to myself “Holy shit, we actually managed to make pot pie filling”. It was probably 10:15 pm at this point so we threw the filling into two casserole dishes and put it in the fridge to chill out overnight. Now is a good time to remember this recipe claimed 5 hours end to end and 1 (ONE!) hour of active time. Lol, k.
Hanging out in the fridge next to our apple pie.
End of Day 1
Day 2: Darkest before the dawn
The next evening I was ready to resume my battle with this dish. After absolutely drenching myself in chicken stock the day before I knew there were two tools that would be essential for day 2, an apron and some emotional support.
After tackling the long list of ingredients to make the filling, I was delighted to discover that there were fairly few things that went into the actual biscuit dough.
Mixing everything together was actually fairly easy. In hindsight it was too easy and I should have known that things were going too smoothly.
All you had to do was smash a bunch of butter between your fingers to make “corn flake” sized pieces. I don’t know if I ever achieved that but I got it to here and decided I was happy with it.
Then all you have to do is add the buttermilk and give it a quick stir with a spatula.
After that I just dumped the filling out into our baking dish and then topped it with the biscuit dough.
Filling in the baking dish without biscuit topping.
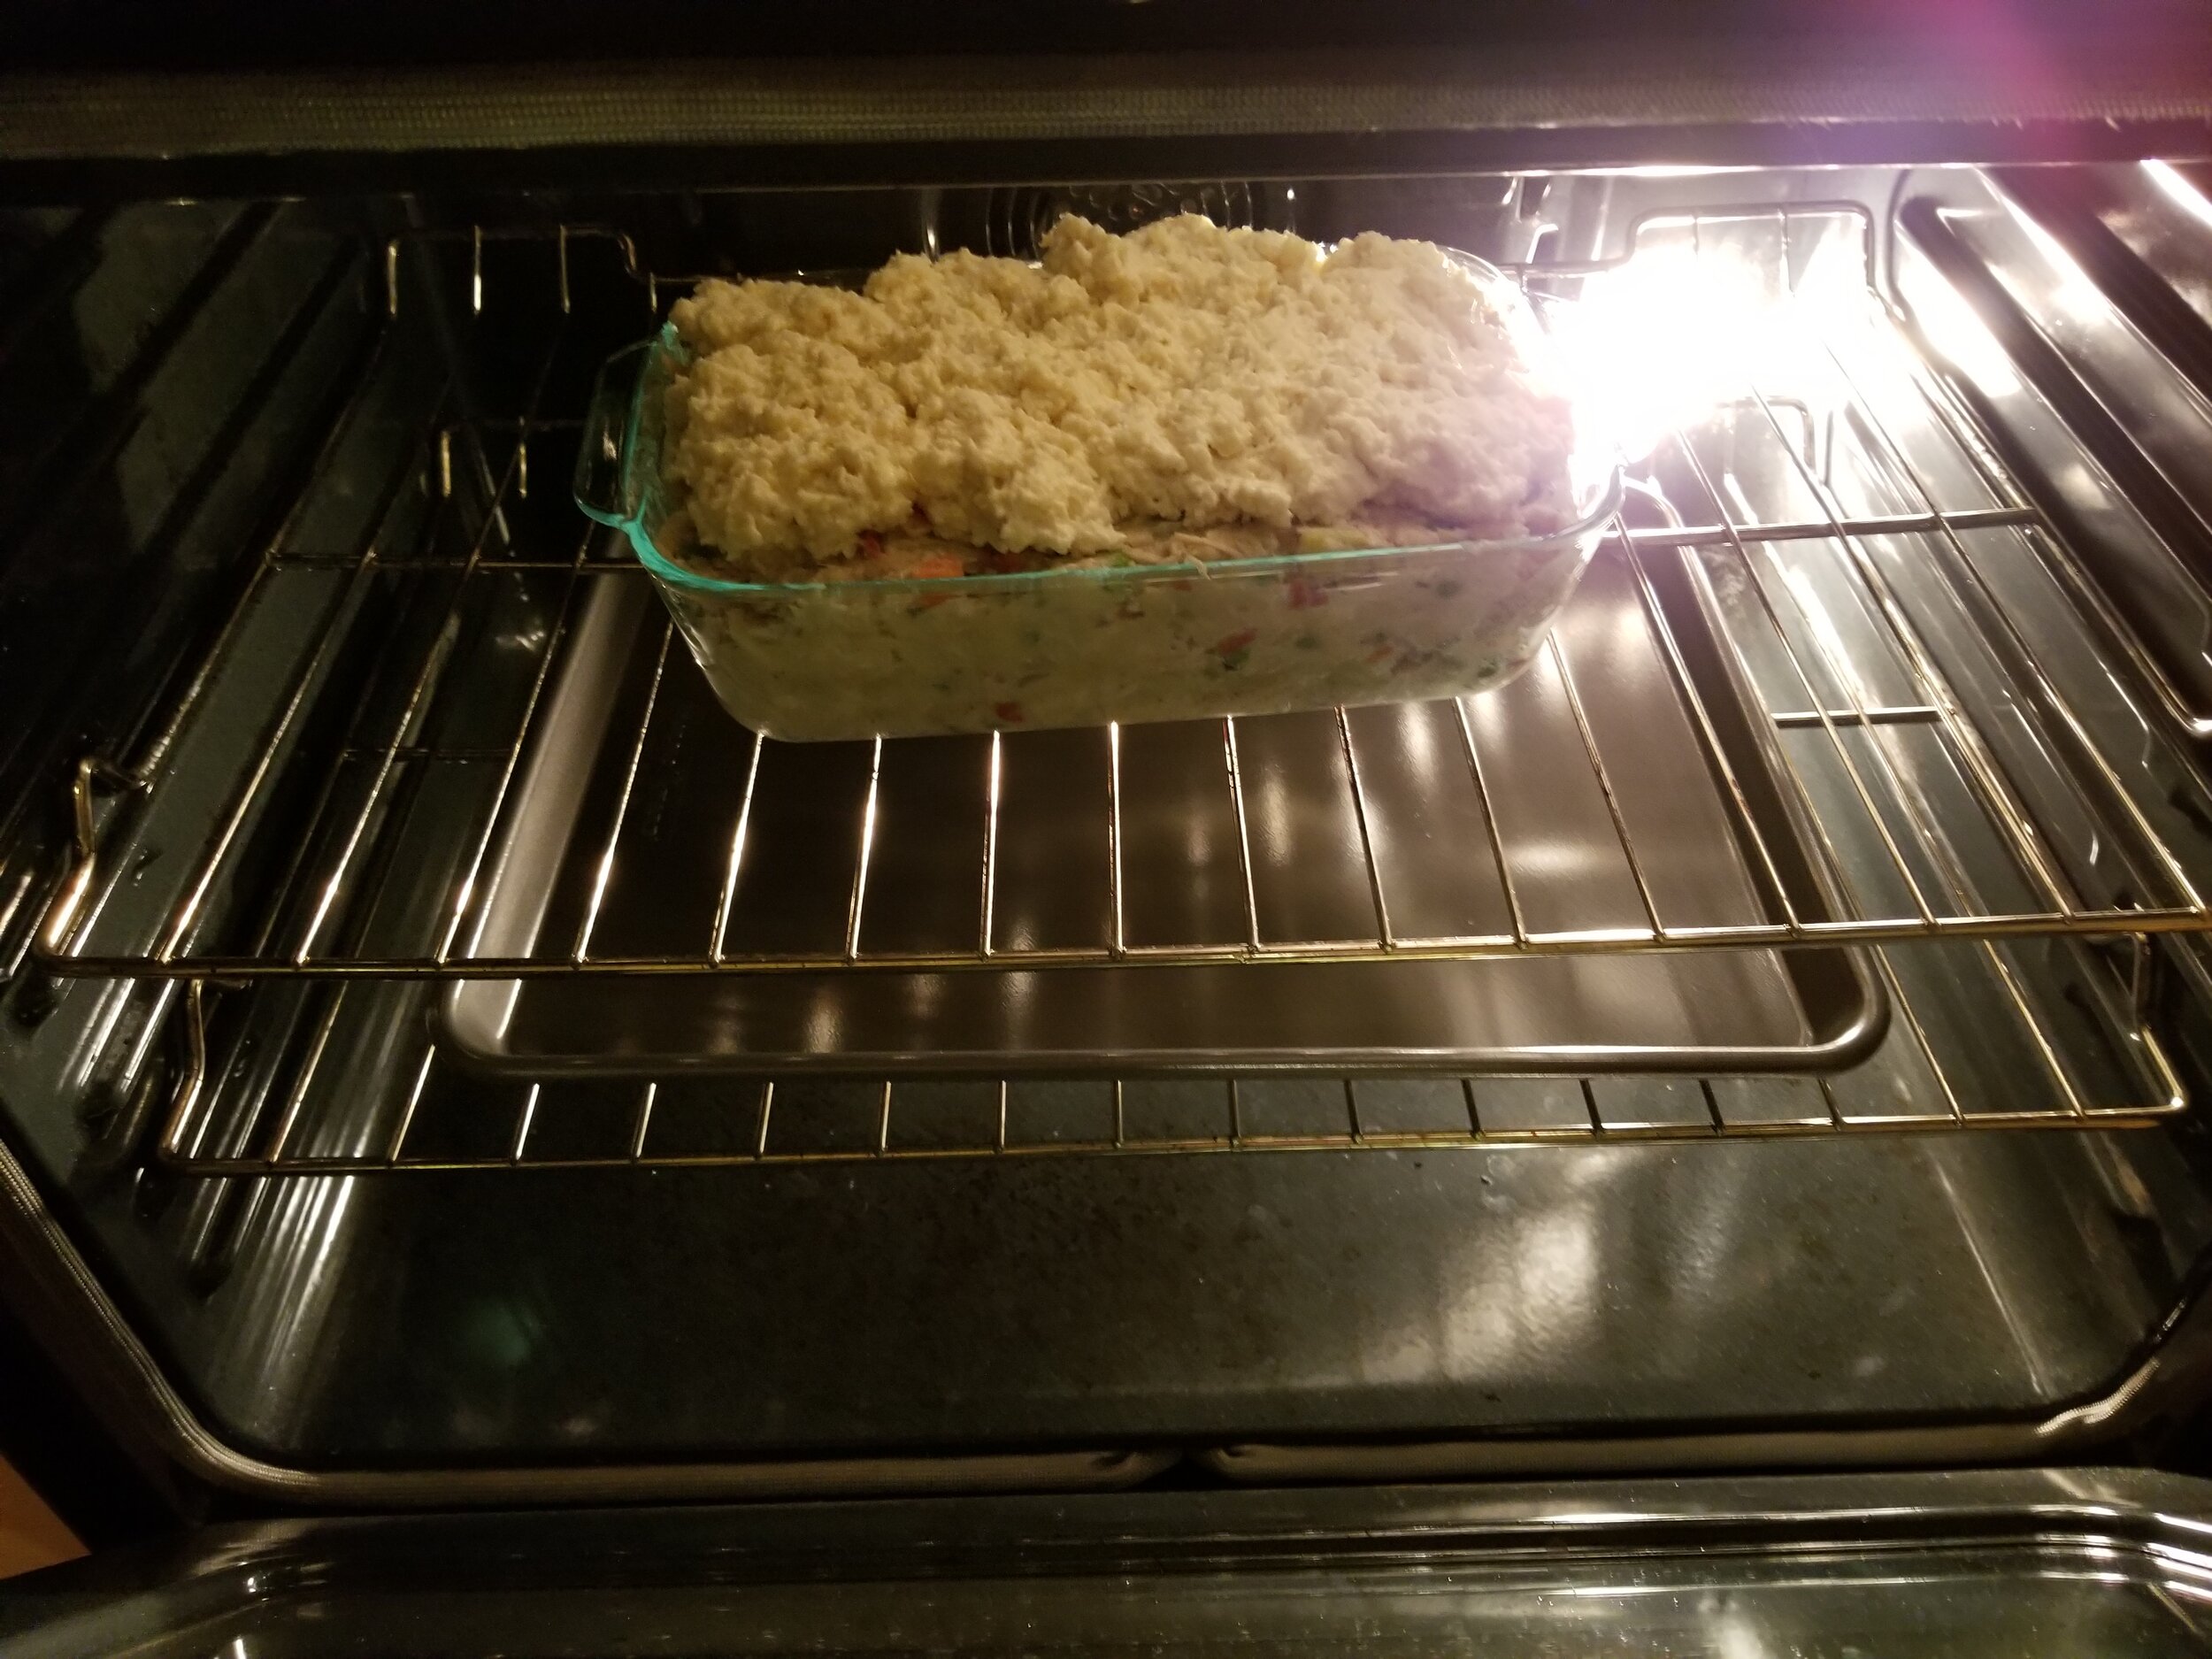
Filling in the baking dish with biscuit topping.
At this point it was time for it to go in the oven. I was a little bit worried that the dish was a bit too full and might overflow so I put a baking sheet in the oven underneath it to catch any potential drips (and thank god I did, more on that later).
Here’s where things started to go off the rails again. We baked the thing for 45 minutes, the recommended cooking time if you hadn’t chilled the filling. After 45 minutes, the middle was ICE cold. I started to worry that the baking dish we had used (which was explicitly labeled as an ultra deep baking dish) might be a tad too deep.
Ok not panicking yet, the recipe says an hour if you chilled the filling so lets try another 15 minutes...STILL cold.
Shoot. What about another 15 - ok well now it’s like 85 degrees…….shit.
Side note: the dish is now dripping all over the place.
At this point we’re looking at eating dinner at like 9:30 and we’re seriously considering ordering pizza.
OK what about ANOTHER 15 minutes. The internal temp is 100 degrees.
Complete capitulation.
We order pizza.
I open another beer.
20 minutes later, it’s still not up to temp. The pizza is here.
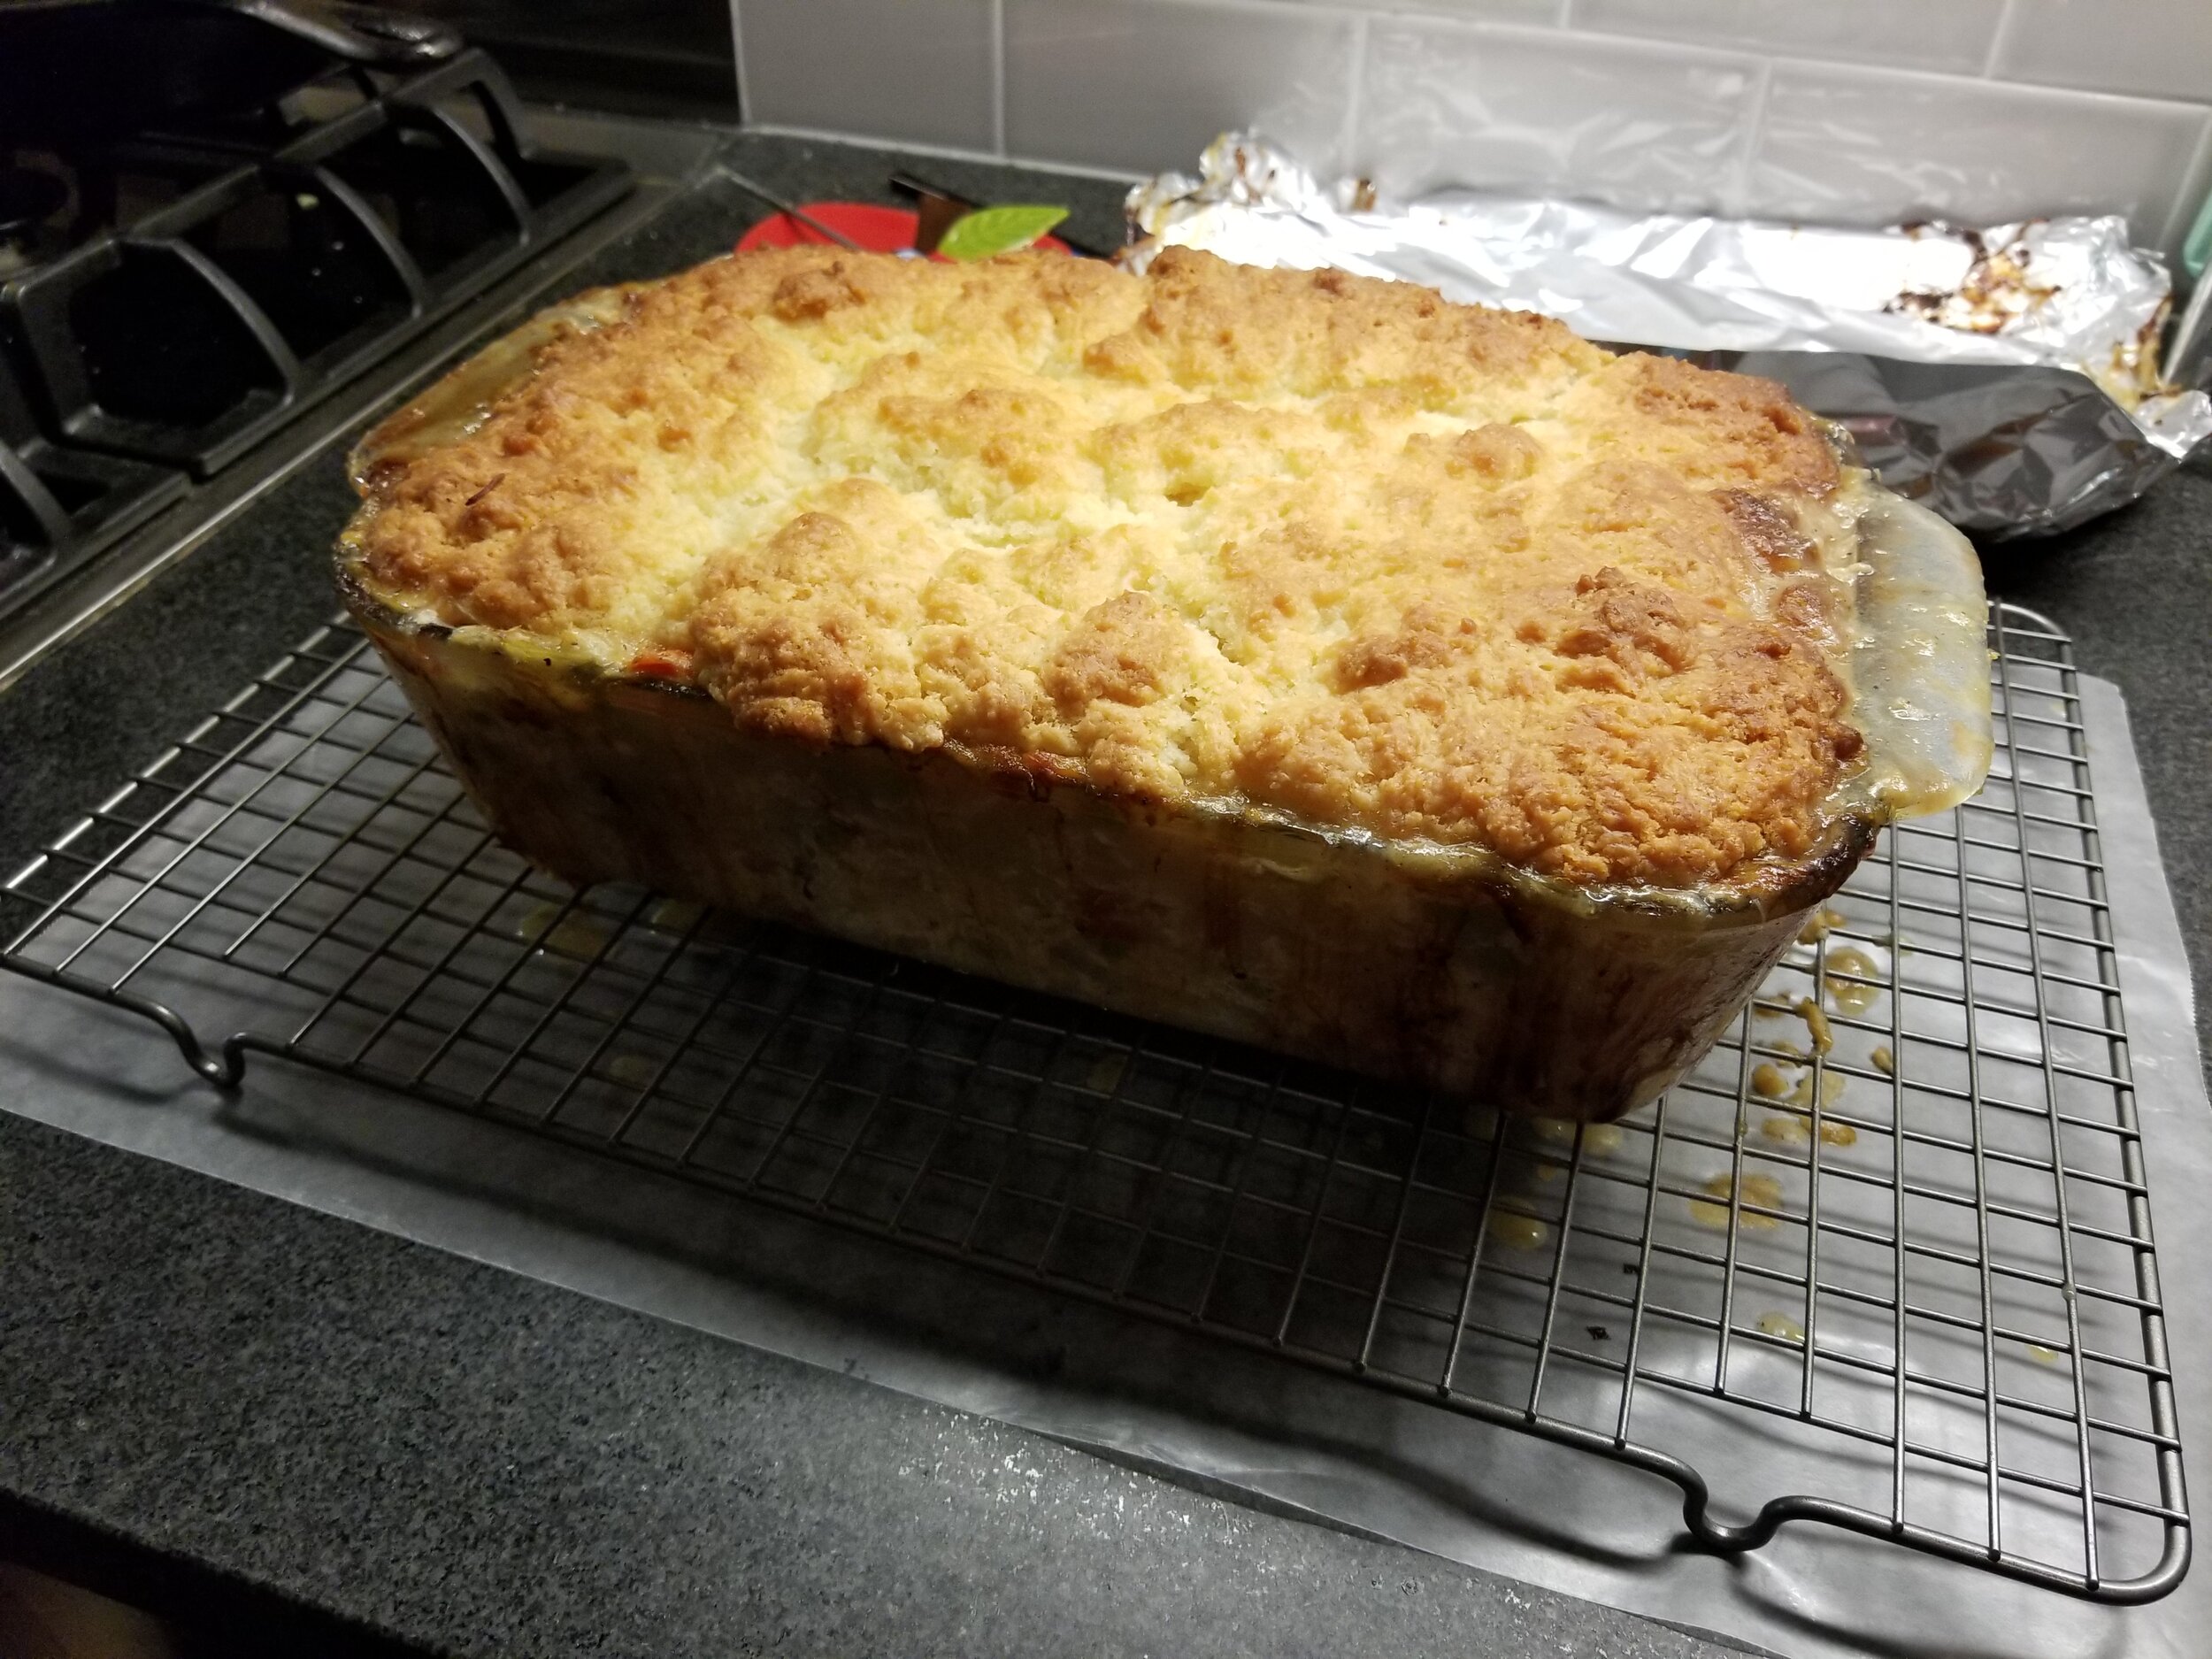
Finally, 2 hours in, this thing is hot. The oven is a disaster. Putting a baking sheet underneath it was a FANTASTIC decision. I don’t know if this baking sheet will ever be right again.
But amazingly it actually looks pretty damn good!
I put it in the fridge on a wire rack since the dish is absolutely covered in burned on sauce. We go to sleep.
End of Day 2
Day 3: Light at the end of the tunnel?
Three days into this process (reminder: 5 hours cook time, 1 hour active time), it looks like we might actually get a chance to eat this thing! After a night in the fridge it still looks pretty good.
I scooped some out into a separate dish and covered the top with foil so that the top wouldn’t brown any further (this was probably a mistake).
I put it in the oven for 15 minutes at 350….60 degrees in the middle. I put it in for another 15 minutes…..80 degrees in the middle.
Capitulation, we microwave it.
So how does it actually taste? Pretty damn good! Like actually really delicious. Was it worth it? Ehhhhh, I don’t know if the taste is worth the many hours of my life that went into it. But! That’s not to say I wouldn’t make it again. Just that if I made it again I would make sure I didn’t have to fridge it and reheat it twice before getting to actually enjoy it.
I think the big mistake here was using an ultra deep baking dish. I’m not sure how, but I think we ended up with too much filling and as a result it took FOREVER to heat up. Also covering it in foil while reheating it seems to have made it take forever as well.
So to close this recipe out all that was left was to… clean. A lot. The stove had chicken stock all over it so that had to be scrubbed down. And then as a bonus, the floor also had stock all over it so that also had to be scrubbed down.
Oh, and we had to bring that baking sheet back from the dead.
(Again. One hour active time.)
End of Day 3


