All-American Pot Roast from The Food Lab

How hard can it be: Pretty straightforward, but wow does it take a long time
Overall Flavor Rating: 4.5/5
Recipe: From J. Kenji Lopez-Alt’s The Food Lab.
What went well:
The pot roast was fantastic in the end.
I managed to fit everything in the pot!
What went poorly:
I had to wake up at 1:30 am to put the pot roast in the fridge.
The potatoes didn’t ever soften to the desired texture.
I forgot to season with salt and pepper until the very last minute.
Pot roast was a fall and winter staple in my house growing up. So when I found the pot roast recipe in The Food Lab, I had to give it a shot. Unfortunately, I bought The Food Lab during the summer, and as good as pot roast is, it’s not a summer dish. So, while everyone else moped about as the weather’s gotten worse and worse, I’ve been elated that it’s finally pot roast season!
It’s been a while since I originally read the pot roast recipe and I completely forgotten that the dish needs to sit in the fridge overnight before it’s ready. So, this is a dish that you’re going to need to plan ahead for. Plus, this dish has 19 ingredients, so don’t expect that you’re just going to grab everything that you need from your pantry.
I’ll say right from the start that we weren’t entirely faithful in following the recipe. It seemed a bit extreme to buy marmite and anchovies just so we could use a tiny bit of each. Also, the five pound chuck roast seemed like way too much for two people, even spread over the course of 3 nights. Our solution was to dial the meat down to 4 pounds and double the vegetables.
To actually make the dish, you start by preparing the chuck roast. I patted the whole thing dry and removed the twine that was wrapped around it. I’m not sure what the purpose of the twine was since it was a single solid block of meat. Maybe just for the artisanal aesthetic when it’s in the display case?

The recipe calls for “1 boneless chuck roast, pulled apart at the seam into 2 large chunks, excess fat and gristle trimmed”. I had never trimmed a chuck roast and wasn’t entirely sure what was meant by “pulled apart at the seam”. But, true to the instructions, there was a large layer of fat and gristle running down the middle of the roast. I put my fingers between the two layers and I was able to pull the roast apart without too much struggle.

Then using a paring knife I trimmed off fat and gristle for a while. I trimmed off a lot of fat and gristle since I know that large chunks of fat are not taken to very kindly in our household. I probably took off a bit extra since I didn’t have any clue what I was doing.

Once everything is removed, you tie the two pieces back together so that you can cook them without it being a major pain to maneuver the meat.

When we had tied the meat back up, it felt considerably lighter so I weighed the trimmings. Clocking in at 1 ¼ pounds, I can confidently recommend that you buy a five pound roast if you’re actually feeding 6 to 8 people.

As an aside, when we bought the 4 pound roast, the butcher gave us a bunch of crap for getting such a big cut of meat for 2 people. We even told him we were going to have it over multiple nights and he said “yeah, like 20 nights”. He was a treat.
Once the meat was trimmed, I turned to prepping the vegetables. It didn’t seem like nearly enough veg when we picked out the recommended amount of vegetables at the grocery store. That’s what led us to double all of the vegetables. But once we were home, it seemed like wayyyy too many vegetables for two people.

Unfortunately, at that point it seemed weird to go back to the grocery store to try and return partially used celery. The carrots and celery didn’t actually end up feeling that unreasonable once they were cut up. The onions on the other hand seemed like an enormous mistake. I mean just look at that volume of onions.
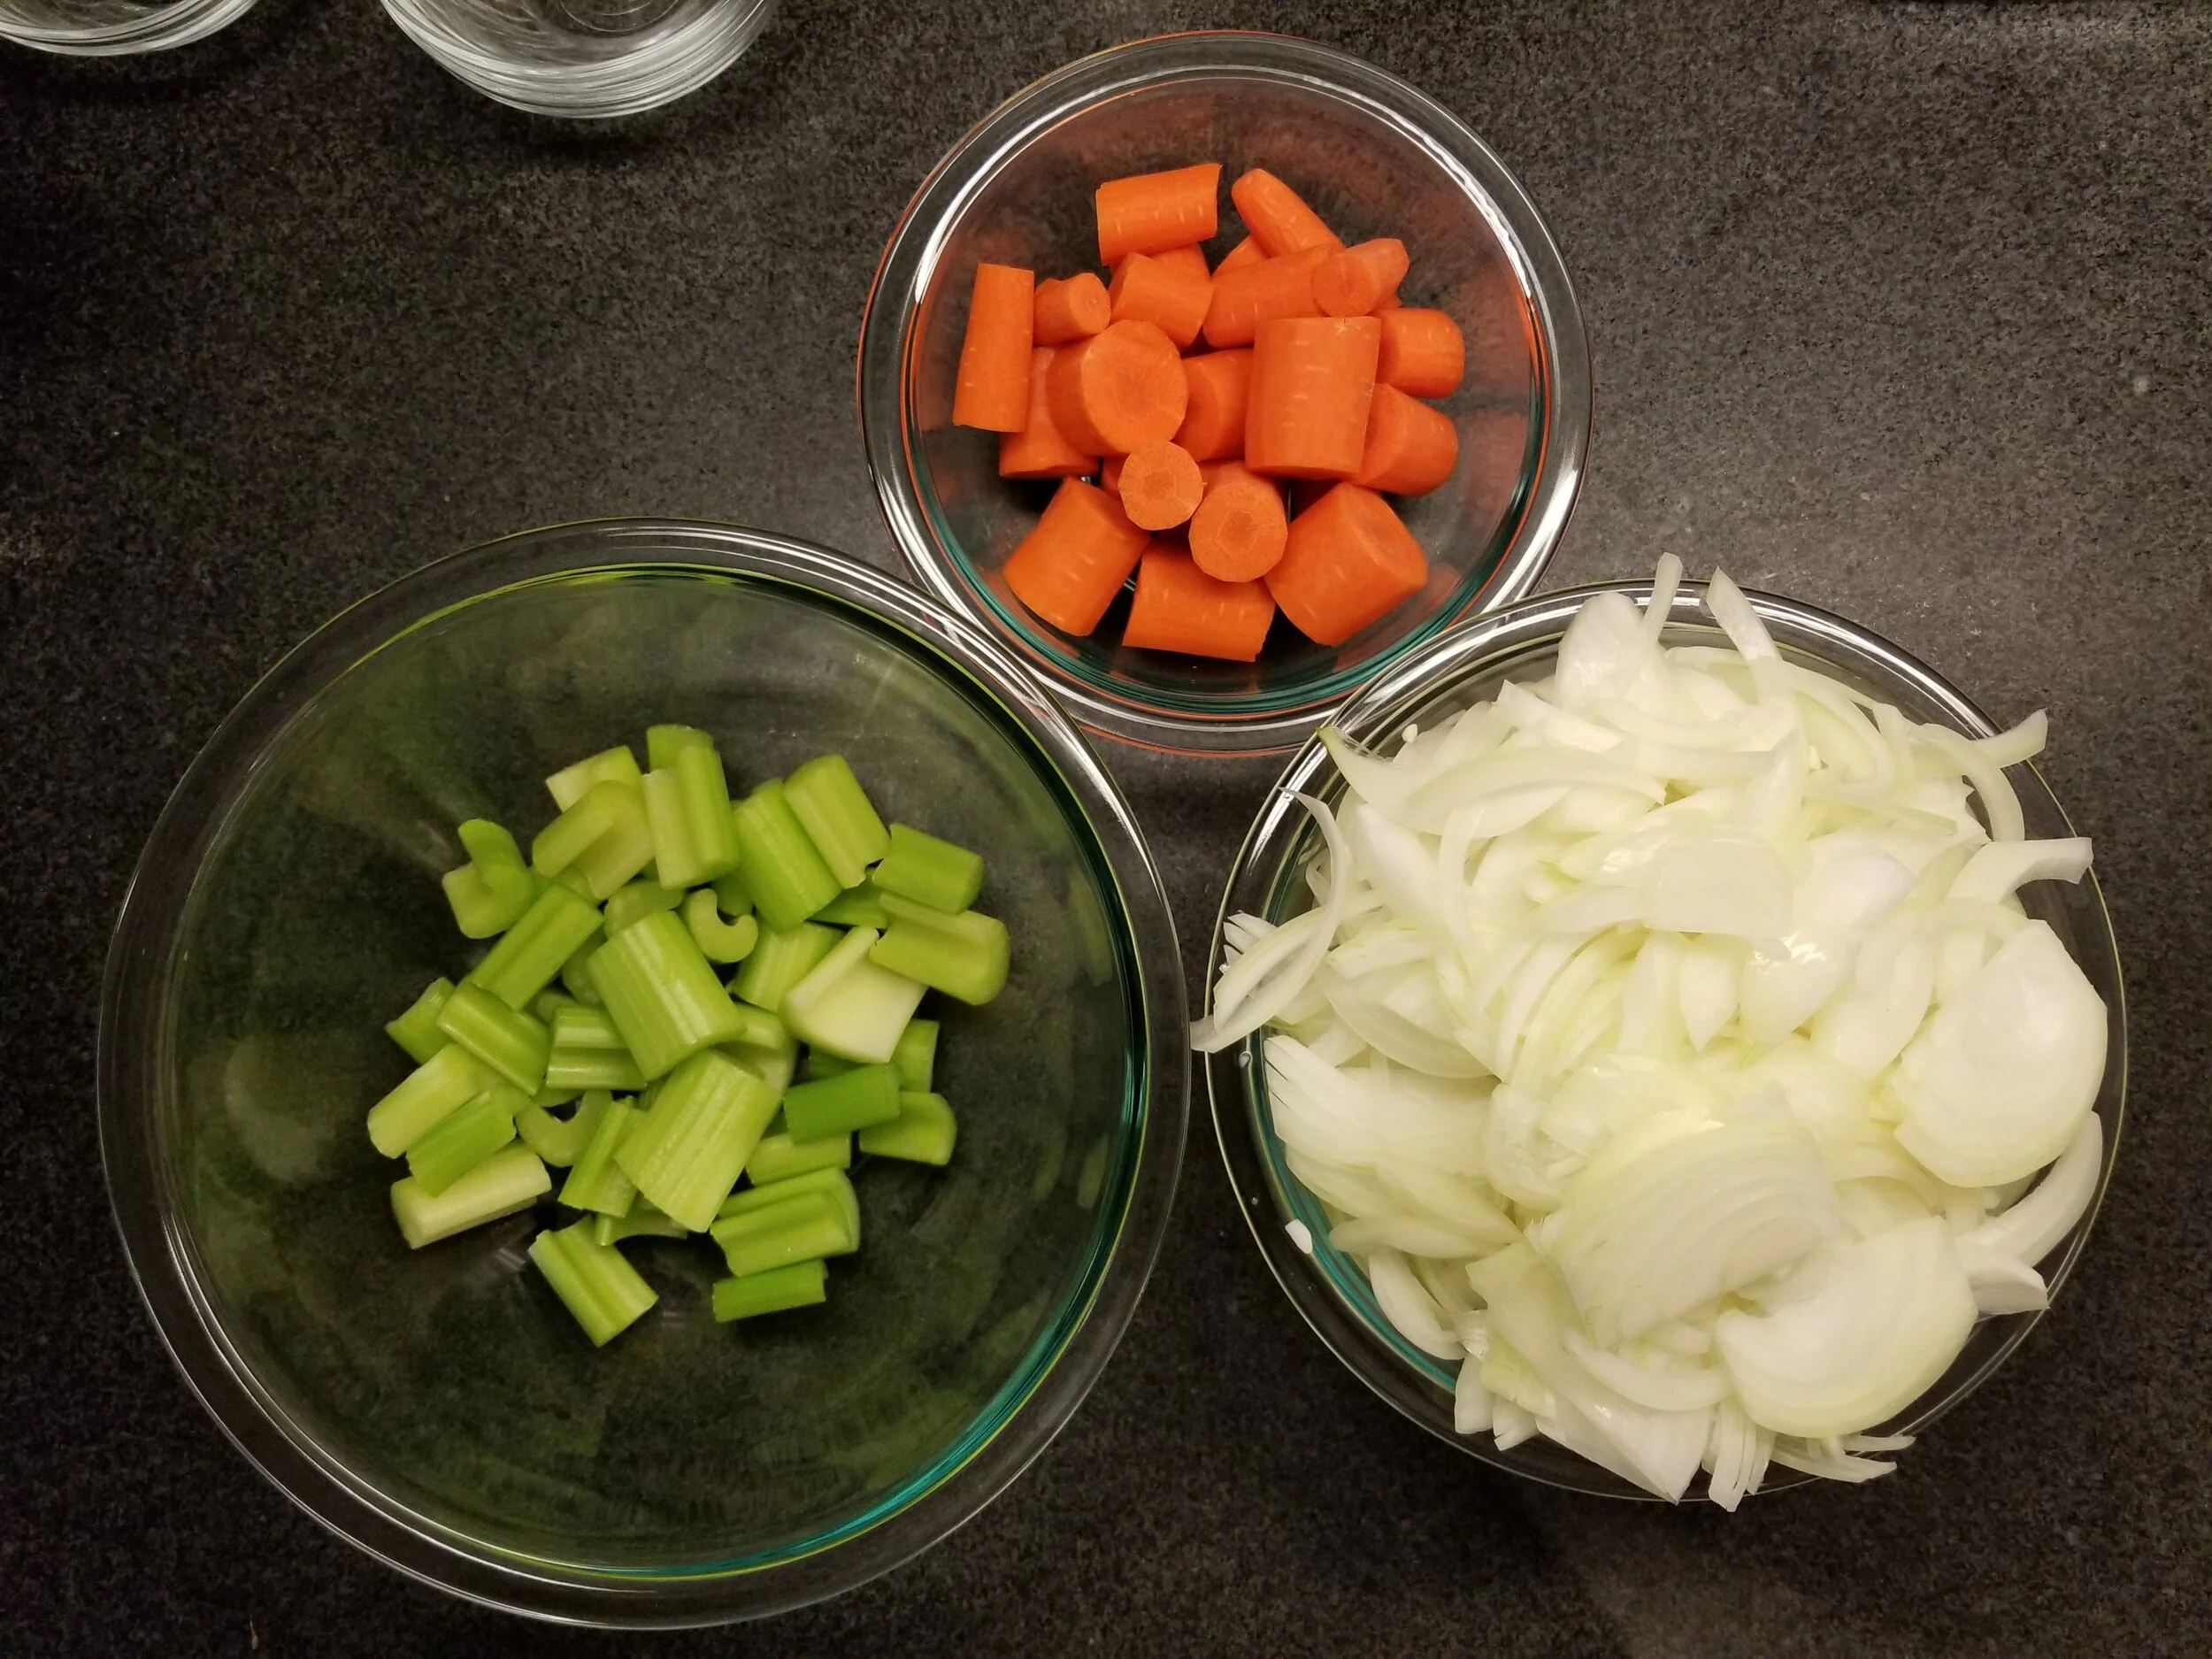
I also completely misjudged the volume of celery and onion and put the two in completely the wrong bowls. I held off on preparing the potatoes because they don’t go in until later in the cooking process.
When all of the vegetables were cut up and ready to go, I switched my focus back to the roast. I realized I hadn’t actually seasoned it with salt and pepper while I was heating up a pot to brown it. This, as it would turn out, was an omen of future mistakes to come.

After a last minute salting and peppering, you brown the roast on all sides. This isn’t really that difficult, you just use a set of tongs to turn it around a couple of times until it’s brown all over. Though while you’re doing that you’ll start to question whether two pieces of twine are really enough to hold the whole thing together. At $2 for 25 feet you’ll question what could possibly have led you to only use two pieces.

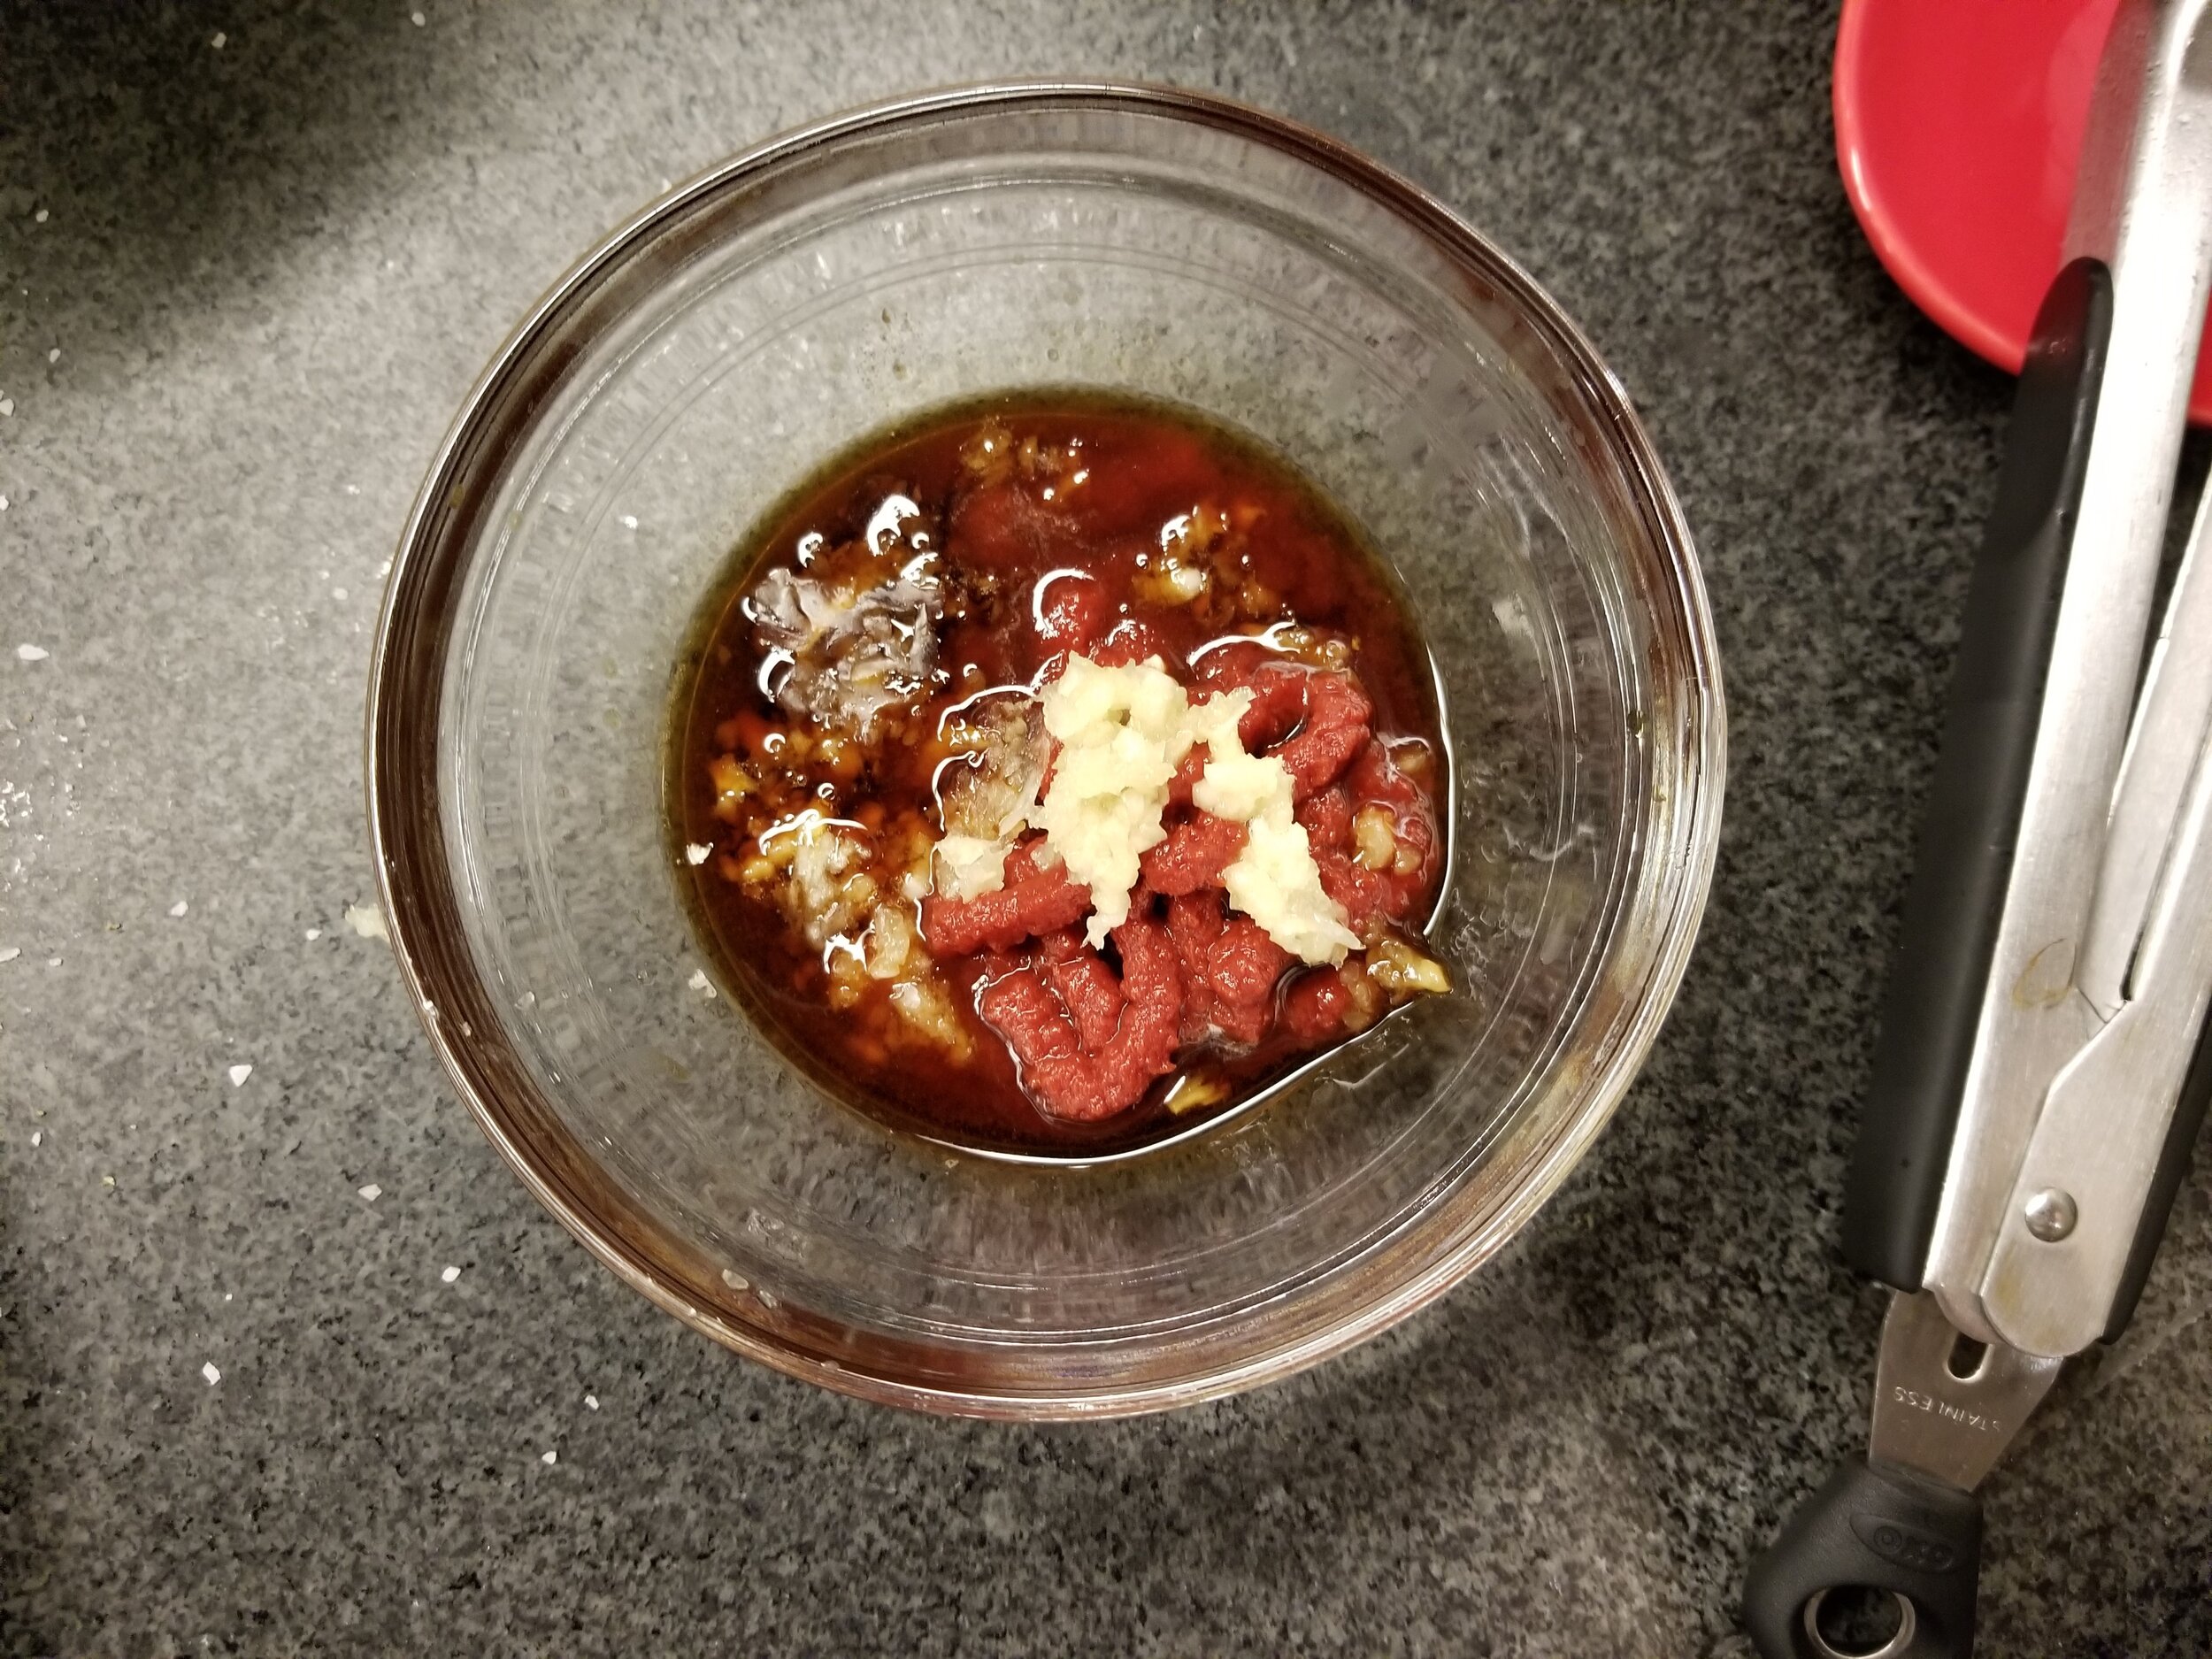
While waiting on the roast to do its browning thing, you can prep the “umami bomb” that Kenji calls for in a bunch of his recipes. It’s a mixture of soy sauce, anchovies, and marmite. If you’re like us and don’t want to buy marmite or anchovies just to use a teaspoon then your umami bomb will just be soy sauce. I’ll admit it, the soy sauce mixed with garlic and tomato paste doesn't look particularly stunning on its own.
Around the time you’re wrapping up your sauce thingy, the meat should be fully browned. Pull it off the heat and set it in a bowl to rest off to the side. If you’re worried that it looks raw, that’s because it’s supposed to be.

When the roast leaves the pot, the vegetables go in. When I added the vegetables, I immediately started to question whether the pot was actually going to be big enough to fit everything.

At this moment I started praying for the onions to reduce in size by about 99%. There were so many vegetables in the pot that I was having a hard time even mixing them without flinging them across the stove. (Though I’ve got to say, accidentally throwing a bunch of vegetables out of the pot while mixing them is a highly effective strategy for making more room in your pot.)
After a bit, your vegetables will start to soften and you add in your strange little sauce mixture.

When you mix that whole thing around, it should start to smell pretty fragrant. Also you can see that the onions had started to reduce in volume a bit (phew).
When your kitchen smells really amazing, you add in a bit of flour.
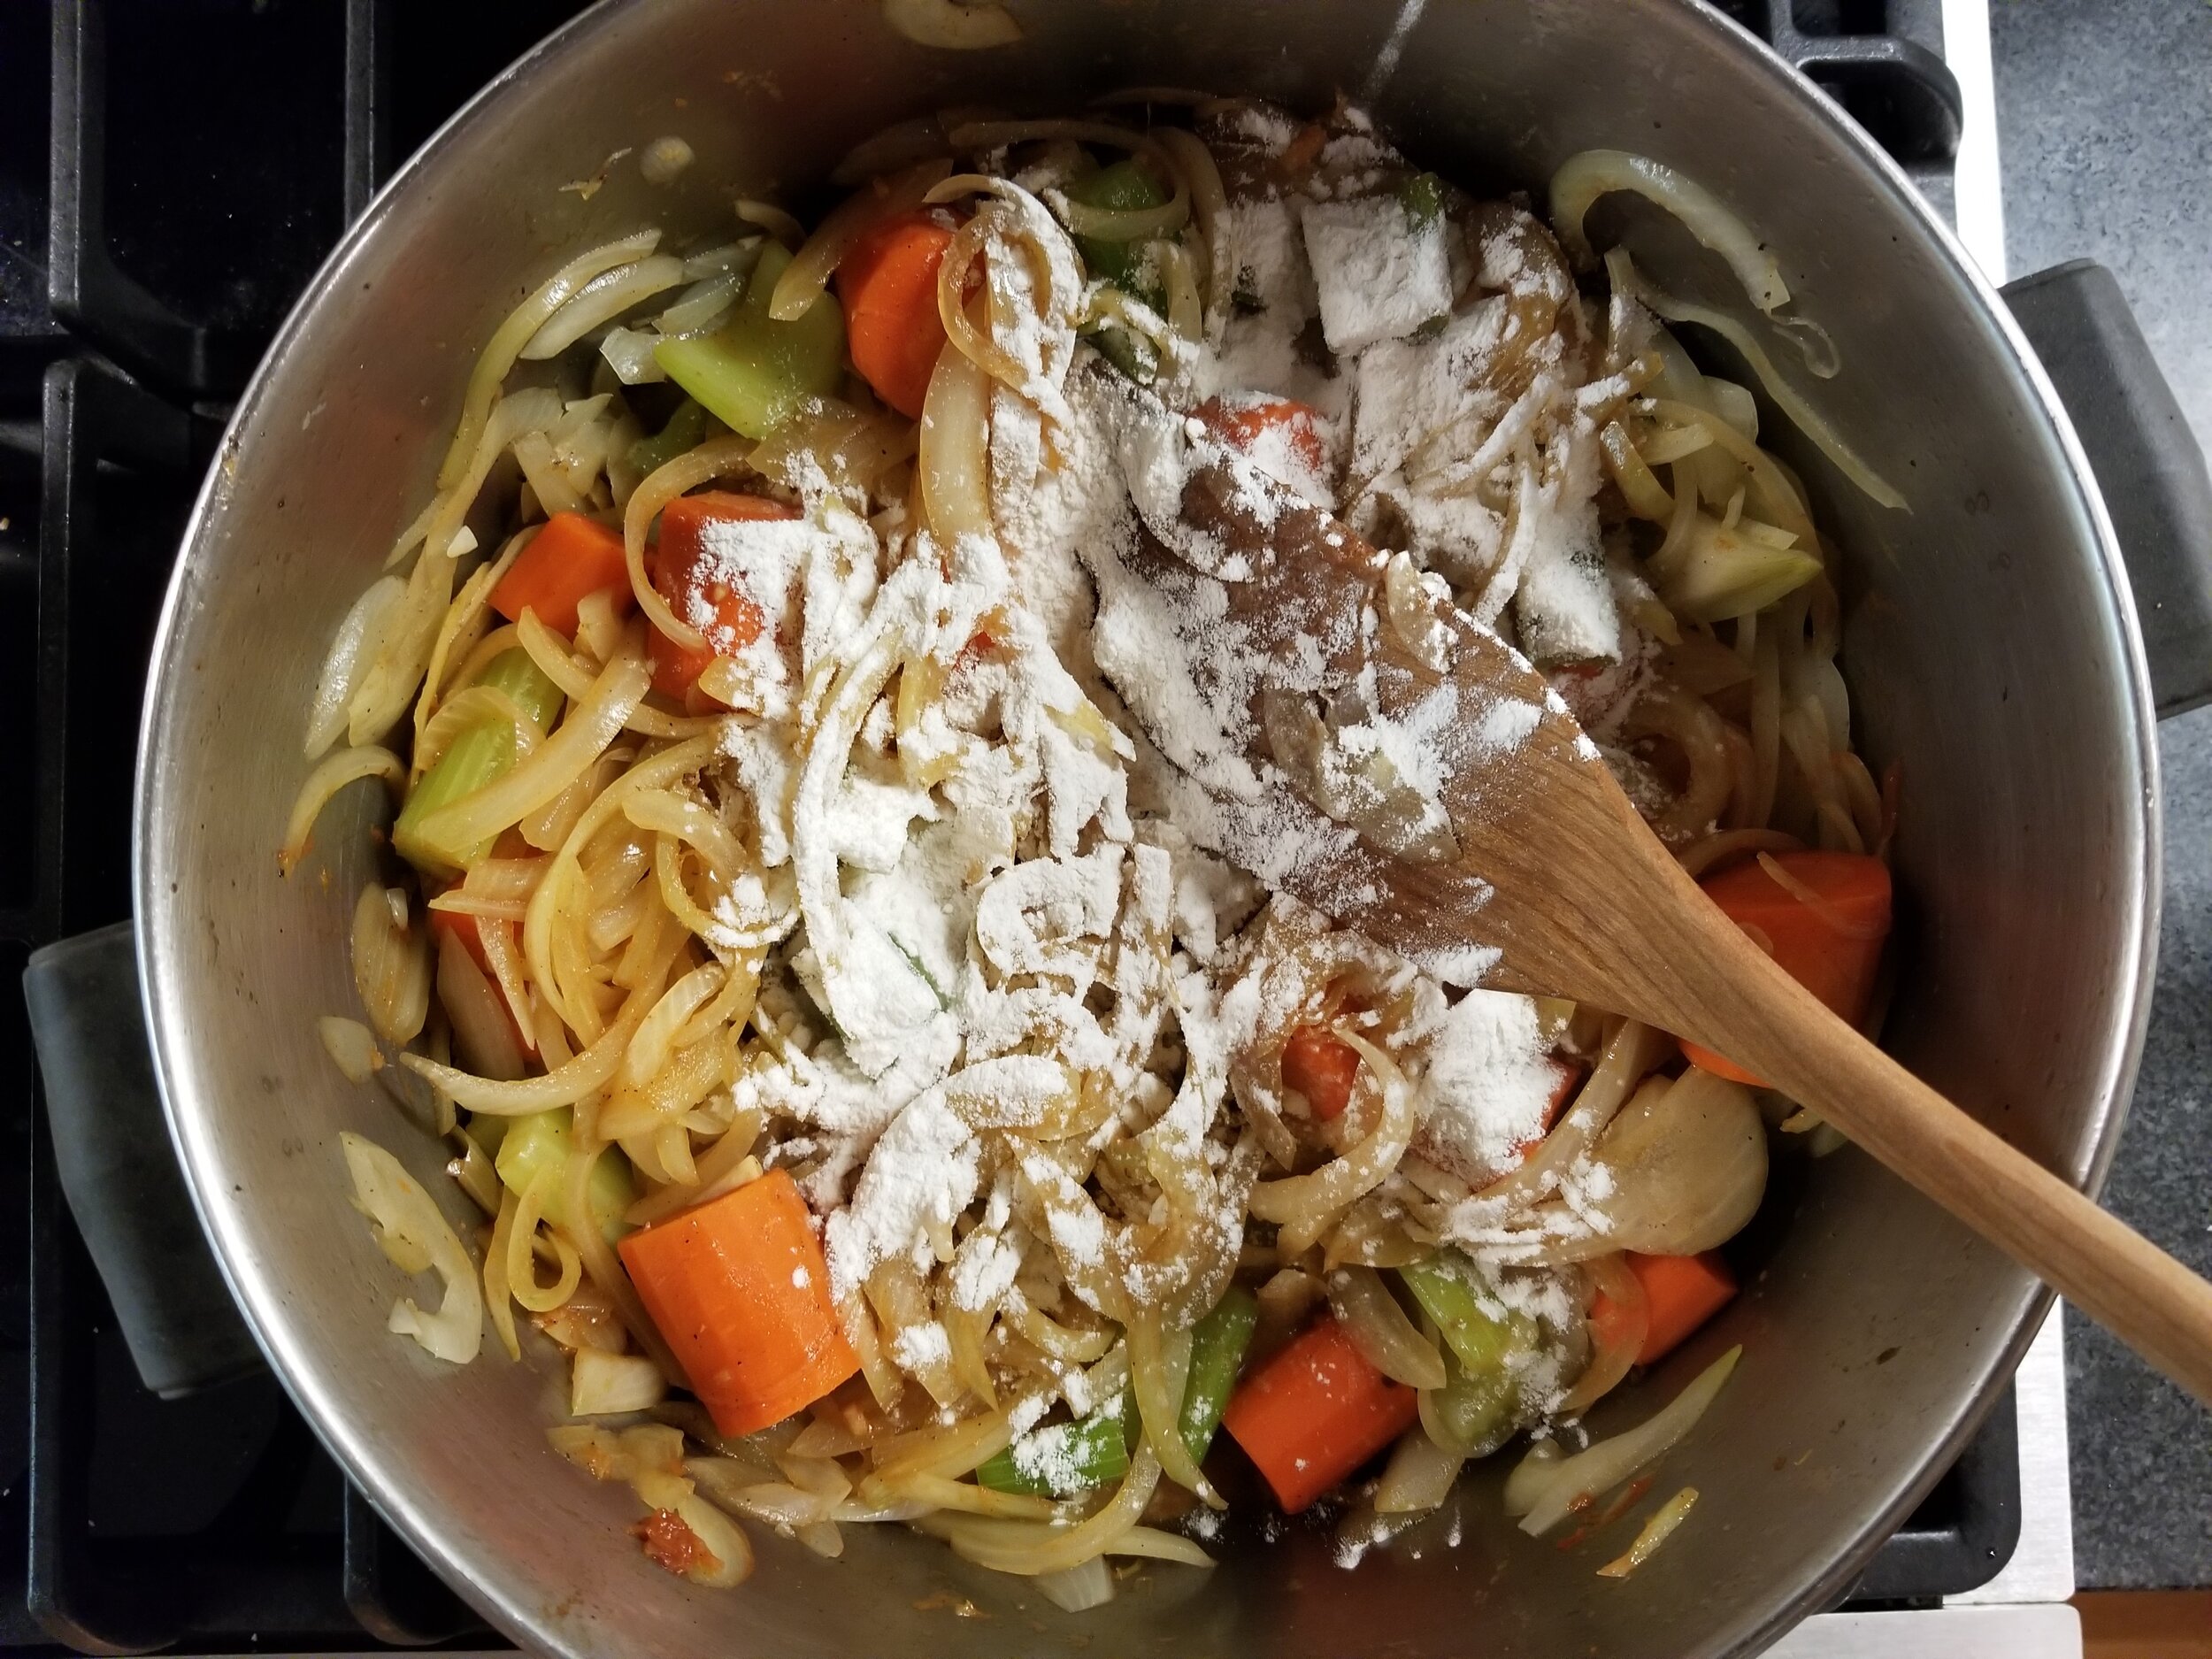
Then you just toss everything around for a while until the flour has been completely incorporated. This’ll take a minute or so and then you throw in a whole bottle of dry red wine.
Make sure you taste the wine first, if it tastes really good then consider opening a more mediocre bottle of wine and drinking the first one. If the second one you open ends up being too good as well, feel free to call it quits and order a pizza. Fortunately for us, we don’t know how to buy good wine so our first bottle was plenty mediocre.

Once the wine is in, the recipe says to “simmer and cook until the wine is reduced by half, about 15 minutes”. Uhhh, yeah. I don’t think so. There’s no way that half a bottle of wine is going to evaporate in 15 minutes. The good news is that I saw a comment from Kenji on Reddit saying to ignore that instruction and that you should just simmer for 15 minutes.
While the wine and vegetables are simmering away, you can prepare the stock and gelatin. This is as simple as pouring the stock into a bowl and sprinkling the gelatin on top. I picked a woefully inadequate bowl (are you seeing a trend?) and needed a second bowl to sprinkle gelatin into.

While the wine is simmering and the gelatin is hydrating, you can prepare your herbs. If you’re using the fresh stuff then this might take some time. We went with two dried bay leaves and a random amount of dried thyme so this took approximately 10 seconds.

After the wine simmers for 15 minutes, things really start moving. You add the herbs, chicken stock, and beef back to the pot.

Then, you bring the whole thing up to a simmer. When the pot is simmering, your entire apartment will smell incredible. If your apartment building is like ours, your entire hallway will also smell incredible.

Once simmering, the entire thing transfers into the oven with the lid slightly cracked. In The Food Lab, the reasoning behind cracking the lid is explained and it seems sound, so make sure the lid is slightly ajar.

After the whole thing has been in the oven for a couple of hours, you add the potatoes. You’re supposed to add the potatoes 45 minutes before you think it will be done. The recipe says to cook for 3 to 4 hours, so that’s pretty difficult to do. I prepared the potatoes when we were two hours and thirty minutes in, figuring that was probably close to 45 minutes before it was done.

We scaled back from three potatoes to two since the pot was really full and we were worried they wouldn’t all fit.
When I pulled the roast out, it was clearly not going to be ready in 45 minutes. I covered the potatoes in water so that they wouldn’t brown.

At three hours and fifteen minutes, I pulled the roast out and added the potatoes. It was 10:30pm at this point and I didn’t particularly care if it was exactly 45 minutes before the meat was ready.
At four hours in, I pulled everything out and tested for tenderness with a paring knife. It offered much more than “little to no resistance”. But! It was 11:15 and I didn’t care anymore.

The whole thing needed to cool down for an hour before going in the fridge (as per the recipe). I left it to cool on the stove and set an alarm to wake myself up at 12:15.
An alarm rings in the distance, it is quickly silenced.
At 1:30 I awoke with a start. I had somehow completely missed my alarm. I can only assume that I dismissed it in my sleep because I woke up holding my phone.
When I ran out to the kitchen, I was dismayed to discover that elves had not magically come by to put the pot roast in the fridge. Fortunately it was still pretty hot so I wasn’t too worried about foodborne illness. Don’t tell the health inspector ok?
I put it in the fridge and went back to sleep.

A day goes by. The pot roast slowly accumulates flavor.
The next evening I was excited to see if it would all pay off. I was also super excited to see how it looked after a night in the fridge.
It looked…..bad.

The layer of fat across the top was not exactly “yummy” looking. Fortunately, the recipe expects this and says to simply remove the fat with a spoon. While spooning out fat, it’s also a great time to play “where’s the bay leaf?”.
After skimming the fat off, I was thrilled to see that it had recovered to “fairly tasty looking”.

The recipe says to slice up all of the meat next, but I pulled the meat out and sliced off just a few pieces. Don’t forget to cut the twine off while slicing or you’ll find yourself surprise-flossing while eating dinner.

Reheating the meat is easy, you just throw it in a covered pan with a bit of the sauce.

While cutting the meat I could see that it was incredible tender from the way it pulled apart as I picked it up. It hadn’t felt very tender the night before, but something magical must have happened overnight in the fridge.
While the meat was heating up, we pulled out some sauce and vegetables into a smaller pot to heat up enough for two servings. You’re supposed to reduce the sauce over high heat until it’s thick enough to coat the back of a spoon. This part took a really long time. Like a really surprising amount of time. But! It was good that it took a while because the potatoes were still hard as a rock.

When we could finally drag a spoon through the sauce and get that nice little clean spot, we knew things were ready. As a bonus, the potatoes had softened to an edible level.
We dished the whole thing up and were excited to tuck in when I saw the salt and pepper sitting on the counter mocking me. I completely missed the step that said to salt and pepper the sauce when you reheat it. And of course we had already poured everything into bowls. We seasoned each bowl individually and stirred it around a bit to incorporate. This was much more difficult than if it had been in the pot, so don’t make this mistake.
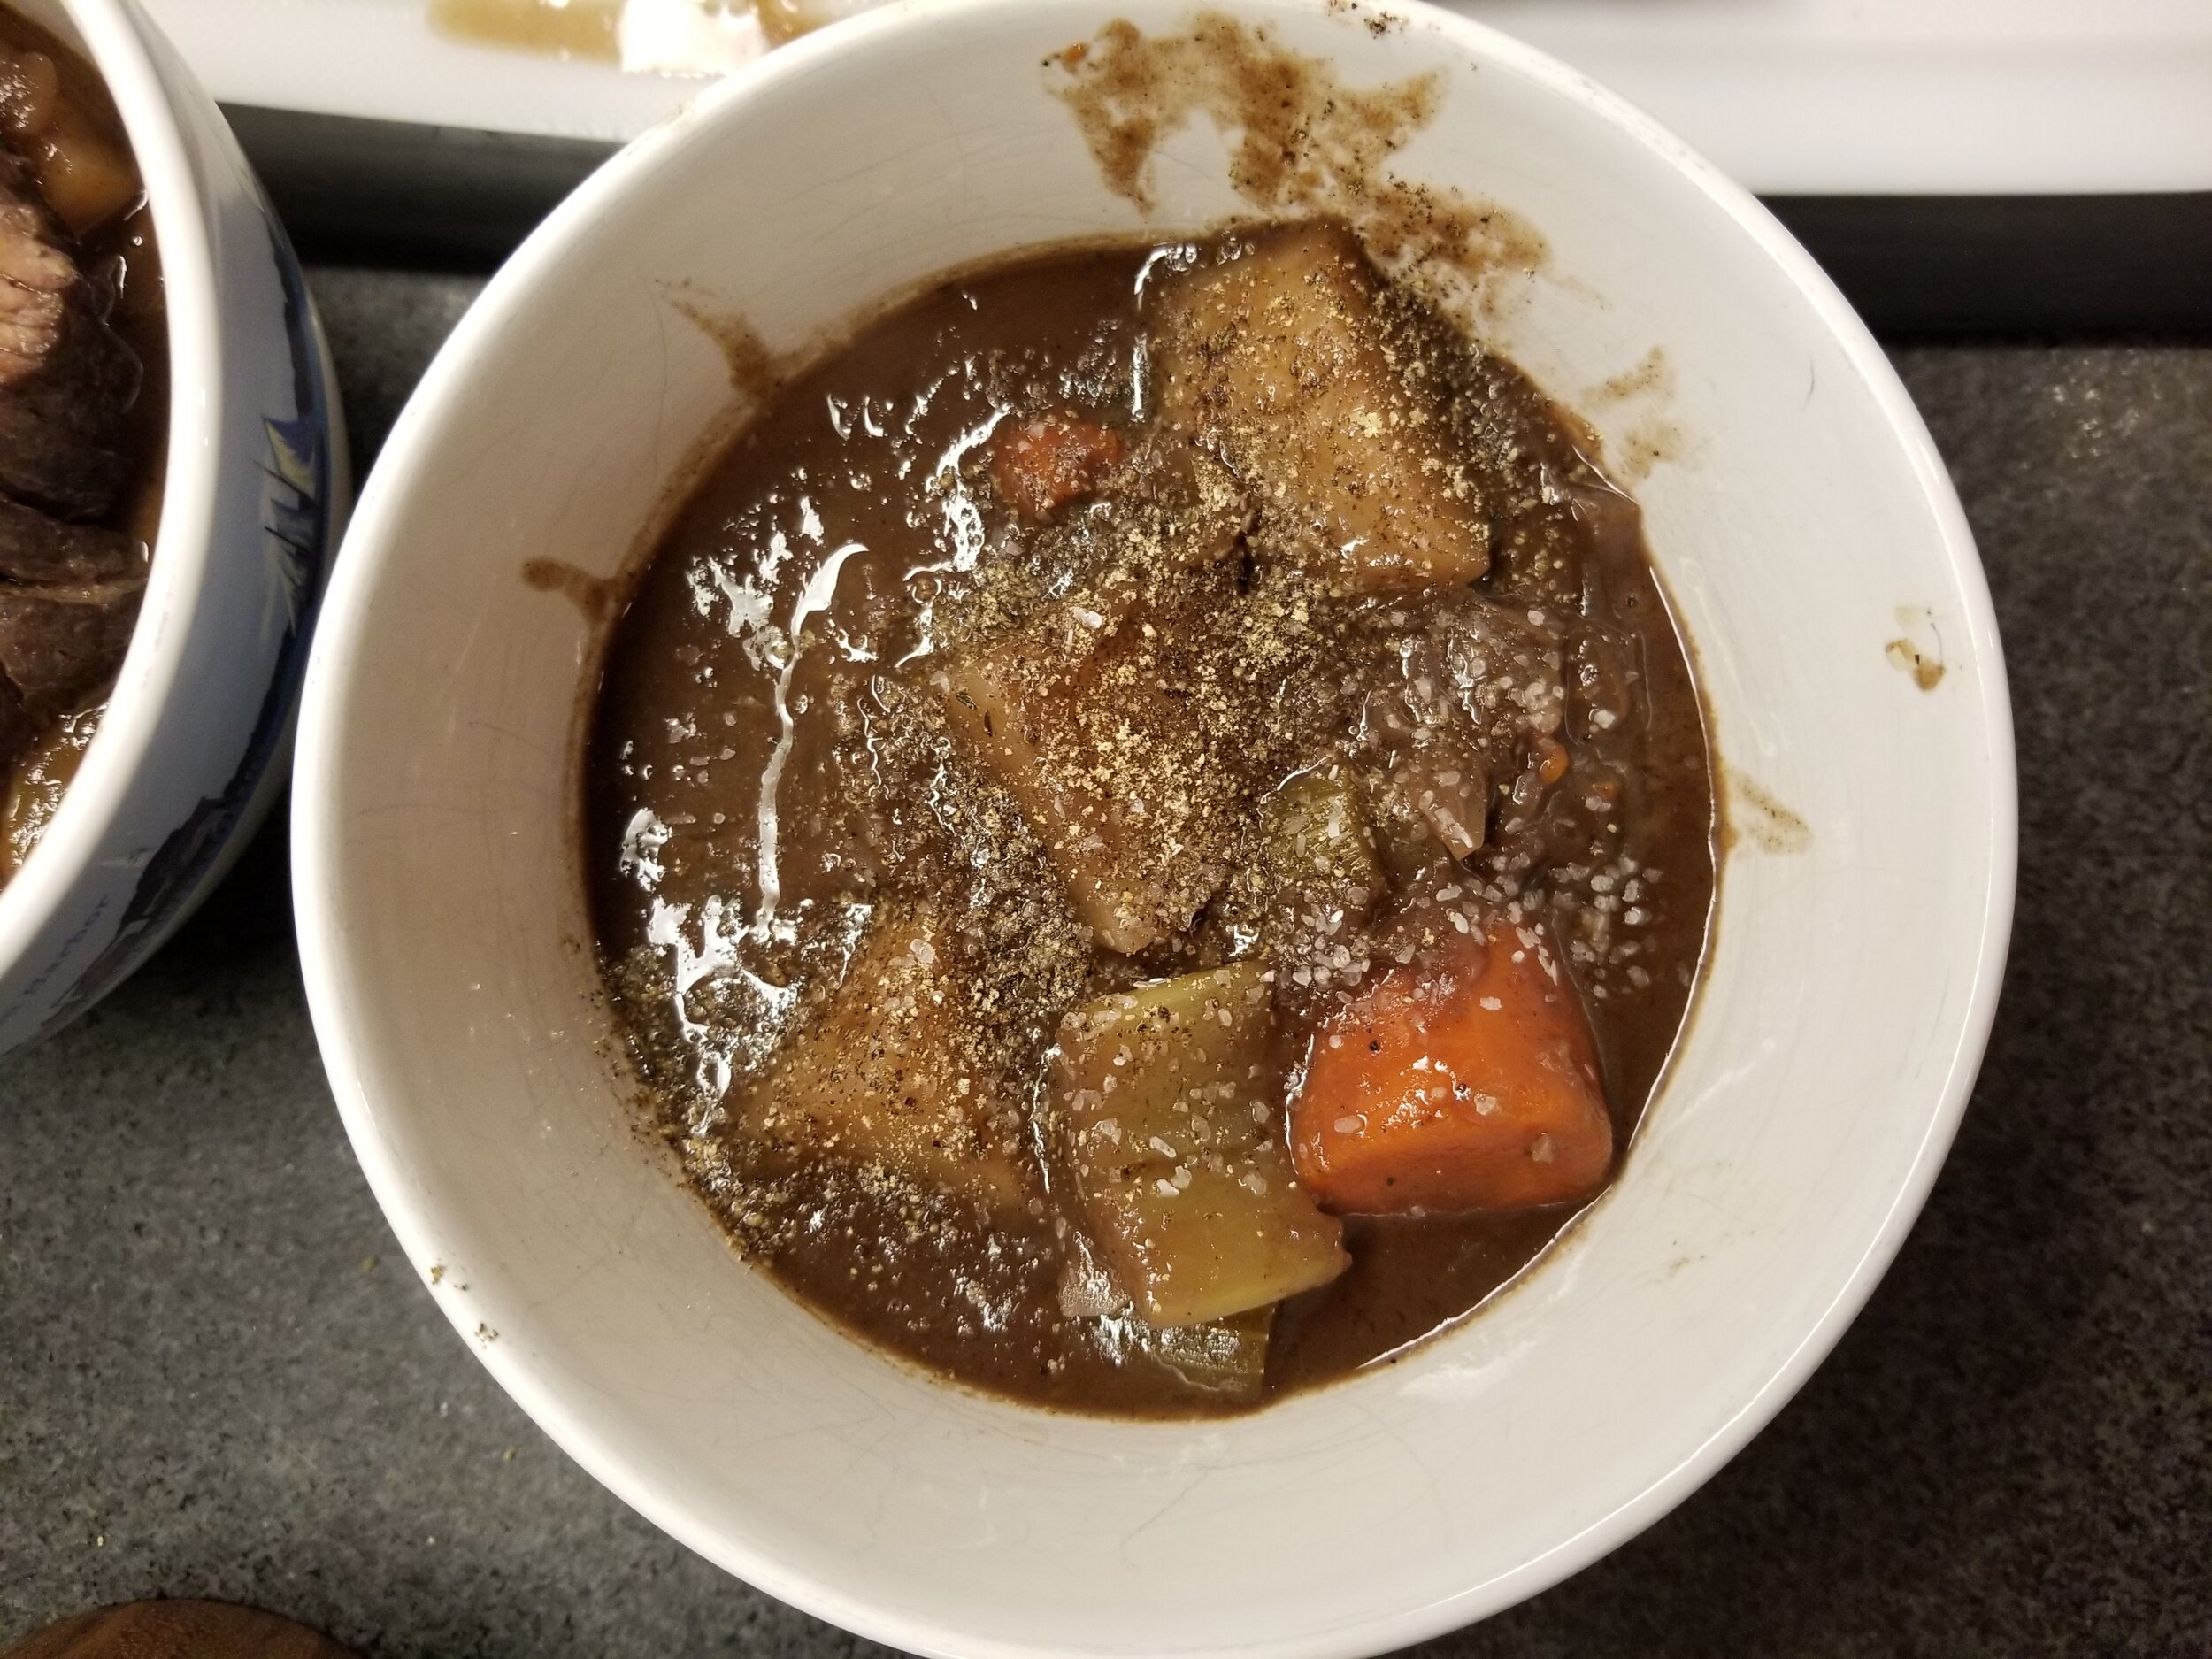
Finally, when the sauce was seasoned, we topped the bowls with the meat and it was ready. How was it? Love at first bite.
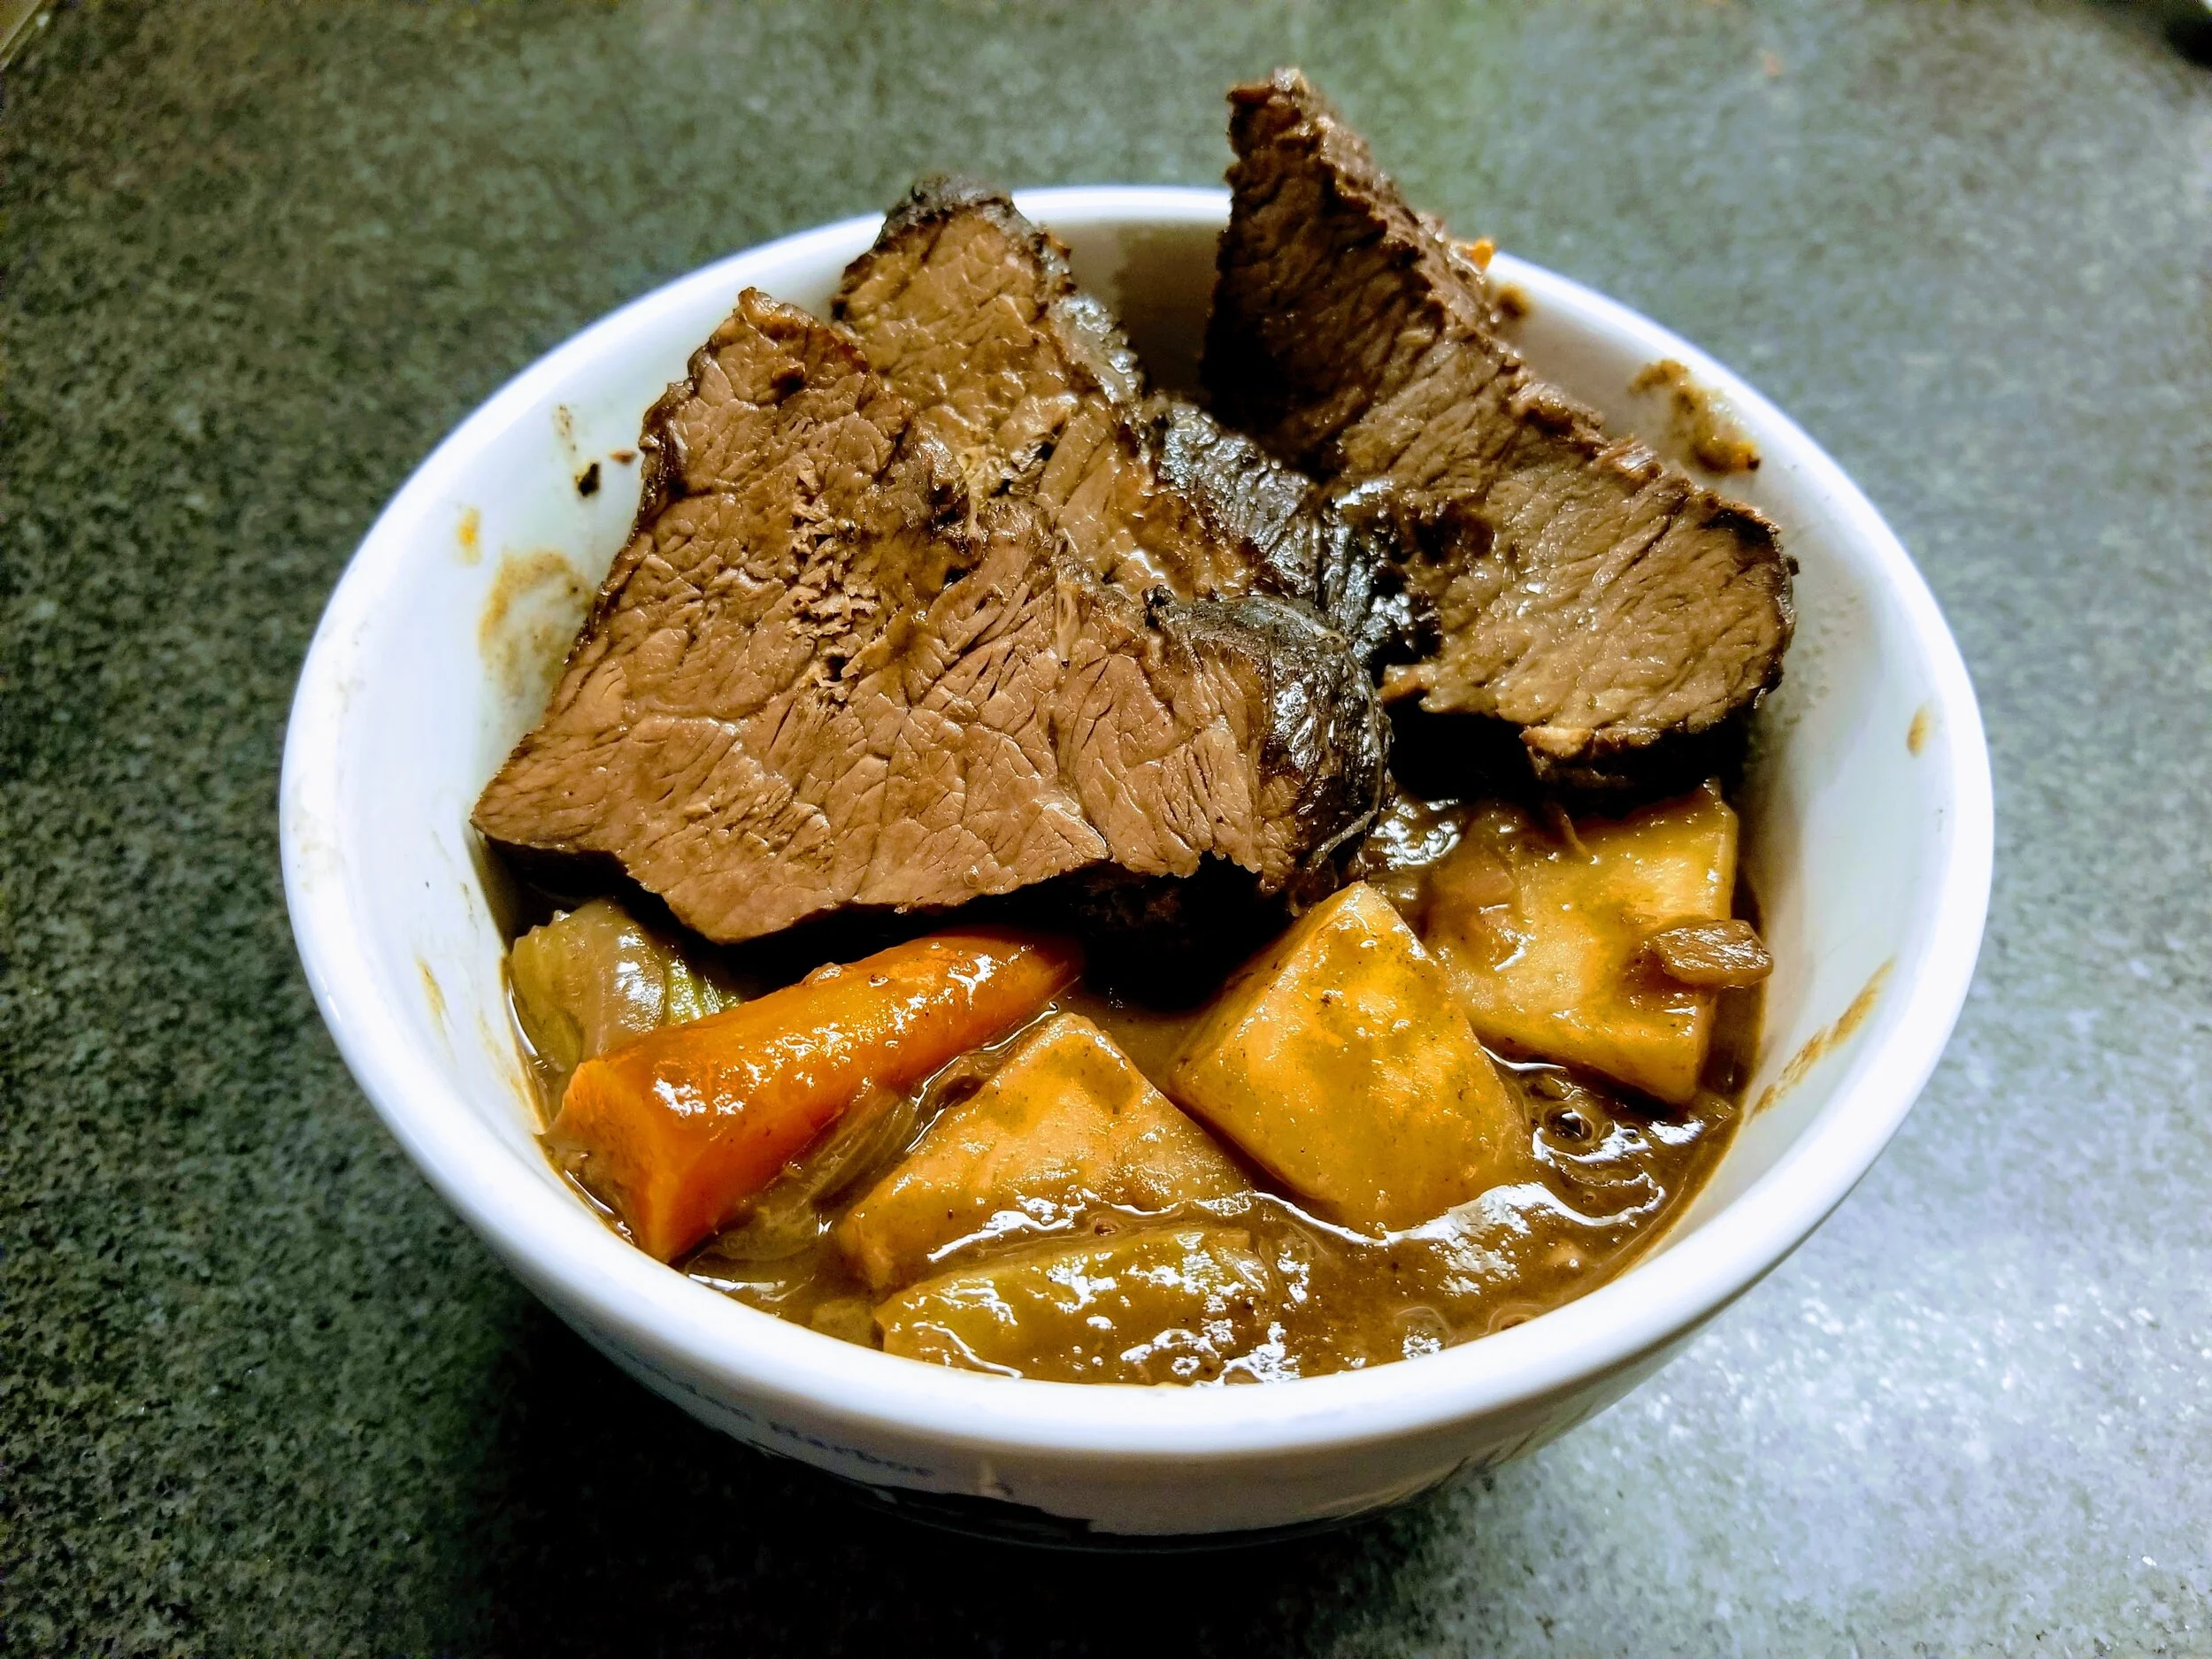
The sauce was incredible, the meat was so tender, and the potatoes were...soft enough you could at least chew them. But, the entire thing was seriously delicious. The only reason I give it a 4.5/5 is because the potatoes didn’t soften more. As far as flavor goes, it’s 10/10. I would highly recommend this pot roast and I know for sure that we’ll make this one again.